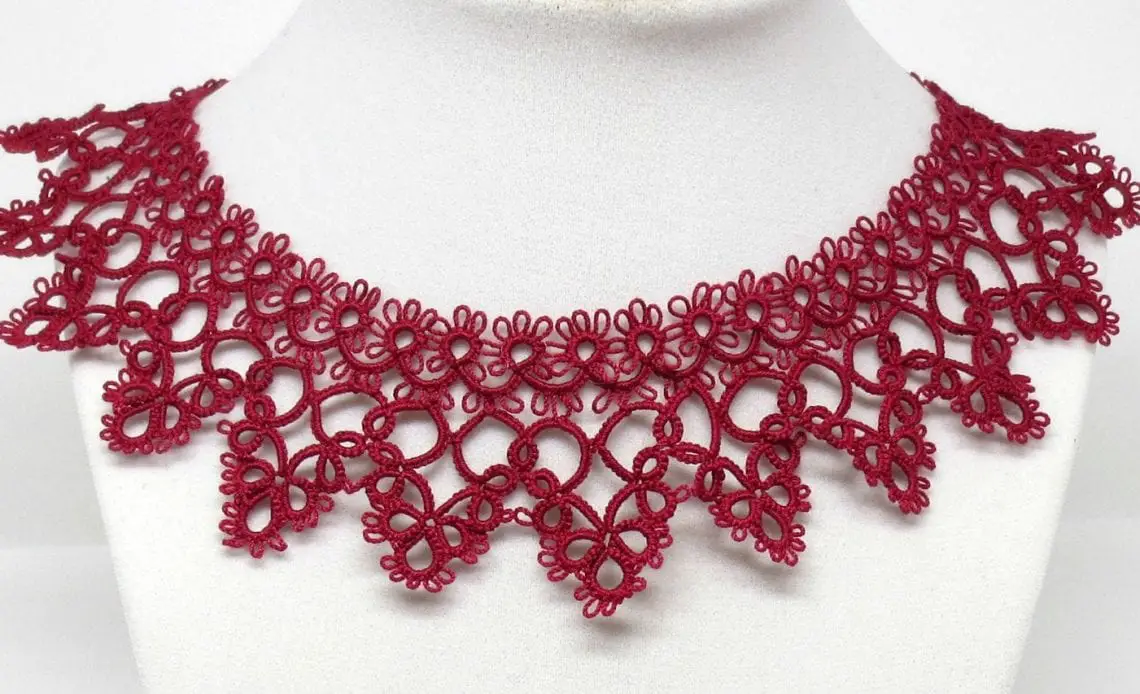
Shuttle tatting is one creative way to make a traditional lacey cloth. Once you decided to get started with shuttle tatting and try to come up with your own, you will eventually find winding the thread all over the shuttle as easy as it has to be.
After that, you need to create a loop that forms the basis of your stitches. When you weave your tatting shuttle inside and outside, you can easily come up with fantastic tatted designs or patterns.
What is Shuttle Tatting?
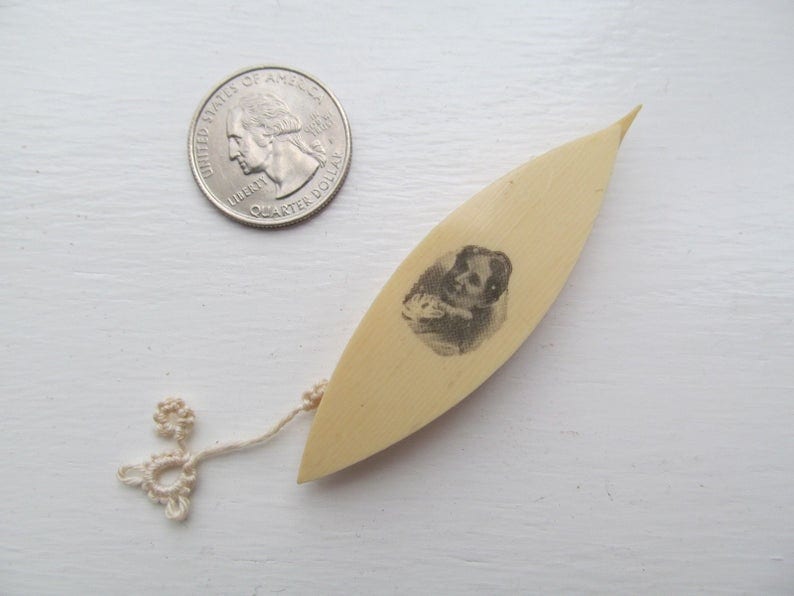
In shuttle tatting, you do not need to use a needle. You can start working with just the threaded gauge. The shuttle can come in various sizes and shapes to choose from. It can be made of wood, plastic, metal, and many more. Likewise, the shuttle holds a larger quantity of thread that means you have fewer tips to lace in.
Shuttle tatting seems awkward and difficult to do at first. With practice, patience, and perseverance, and cooperative hands, you will eventually learn the right way to maneuver your thread and shuttle to make delicate and intricate picots and rings.
Getting Started with Shuttle Tatting
Here, you will learn:
- How to wind the tatting shuttle
- How to pose your hands and wrap the yarn
- How to use the basic techniques in the tatting
The first thing to do is winding your tatting shuttle. Choose the best tatting thread based on your purpose. Select a cotton thread of your preferred color. Also, choose how fine the tatting job to be.
If you are a novice, you may like to use size 10 because it will not snag. It is big enough, allowing you to see and untie it with ease. Use cotton thread in size 50 or 80 for finer shuttle tatting. If you are not sure, then just get started with either size 10 or 20.
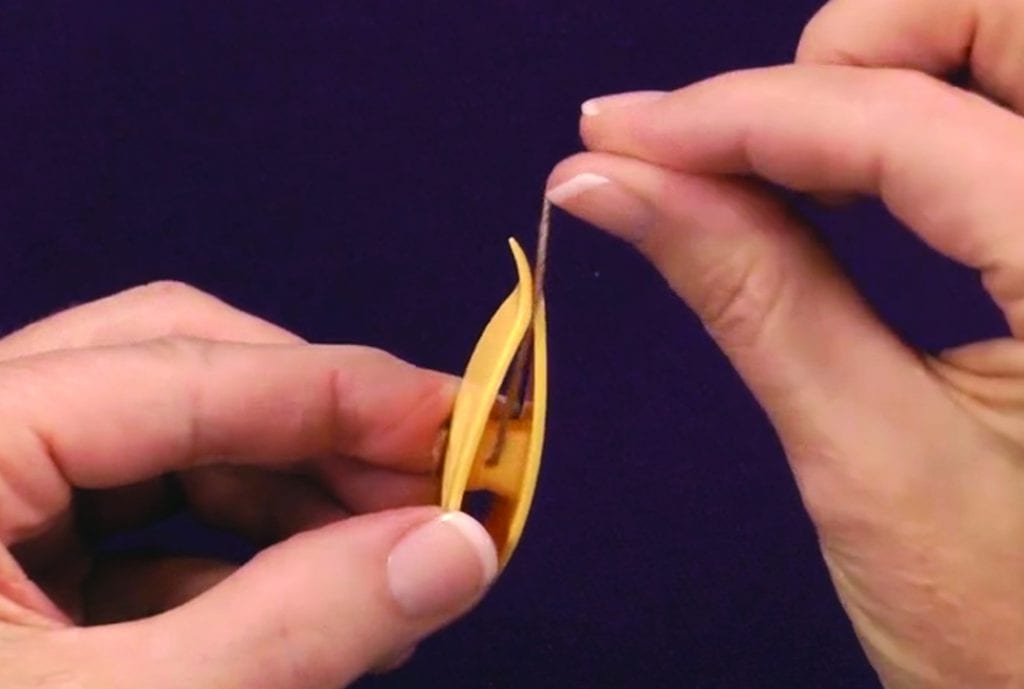
Then, put the thread over the hole in the center of your shuttle. Turn your shuttle on the side to see the hole within the middle. Take the tip of your thread then push it over the tiny hole. Make sure an inch of your thread will extend from the shuttle’s side.
Cover the thread over every tip of a shuttle. Push the tip of your thread against your shuttle so that the thread will not slip out. With your other hand, wrap your thread across the center of the shuttle. You need to wrap it tightly so that you can clasp the yarn between every tip of your shuttle. It does not matter where you choose to wind your shuttle.
Keep on wrapping the thread until it is on the edge of your shuttle. Then, stop winding it before the yarn extends through the side of your shuttle as it can make tatting difficult. As much as you can, wind the yarn evenly all over the center of your shuttle.
Leave a 2-foot tail and trim the yarn. The shuttle must not be connected to the ball of yarn, so be sure it is long enough before cutting it by using your scissors. Hold the tail of the thread and start tatting. Hold it properly and start trying to make double stitches, chains, and rings. Get started with easy projects for novices before picking the complex one.
It’s time to try the basic tatting tactics. Learn to make a dual stitch. Practice the basic stitch, move your shuttle to your right hand over the loop on your other hand. Take it over the back through the coil to make your first knot. Pull your shuttle to the right, tightening the knot.
Finish the twin stitch by taking the tatting shuttle through the ring and pulling it down over the center, making the 2nd knot. If you follow a pattern, the DS abbreviation stands for a double stitch.
Start making rings once you feel comfortable in creating double stitches. Hold the stitches with your left hand and use your hand holding the shuttle to pull on the yarn between the shuttle and stitches. Keep pulling the thread until your stitches whorl in and form a stiff ring.
Make some picots to add some décor. If you’re already a master in making a twin stitch, then making a picot will be easy. Work on the 1st half of your twin stitch, but be sure not to pull the 1st knot tightly to your left hand. Leave the space inside the knot then hold it whilst completing twin stitch. You can then glide the picot to other stitches that are close to your left hand.
Notes:
- Pay attention to the yarn size number. The smaller it is, the wider the yarn is. Size 10 is wider than the size 20.
If you use a homemade shuttle that has two holes in every tip, insert the yarn over one of the loops at one end. Wrap the yarn all over your shuttle through the reverse hole and go back. Keep on wrapping. This way, the yarn will catch on the loops.