Over time, basket making was able to preserve the traditional way it started. Even with the continuous improvements on the basket weaving materials, the use of conventional materials is still practice and preferred today. They are, after all, known to be durable, long-lasting, and perfect.
Perhaps, one of the widely used material is a reed, or widely known as rattan. The use of reed works well in maintaining the great qualities of basket weaving. Aside from that, reeds are easy to harvest and don’t require great tools and equipment. That is why basket weavers and basket enthusiast favor reeds more than any basket weaving materials available.
What is Basket Weaving Reed?
Reeds are not trees; rather, they are long-stemmed woody vines that grow in the countries of Asia. The biggest rattan population is in Indonesia, and the rest of the supply comes from Borneo, Sulawesi, Sumbawa, Philippines, Bangladesh, Malaysia, and Sri Lanka. Though reeds or rattans are particularly compared to bamboos, they still differ in their structural aspects. Reeds are also known to grow as long as hundreds of meters.
Economically, rattan provides a cheaper value and an alternative. Instead of cutting down hundreds of trees every day, loggers can instead harvest reed. Reeds grow very fast than the woods. Thus, in maintaining the forest, reeds provide a better option.
However, because of the constant and high demand, some harvesters cut down the reeds even when they are still young. This will damage the growing cycle of the plant and potentially hurt the growth. With over-exploitation, the intolerable harvest can affect the whole forest ecosystem.
How to Prepare Reeds for Basket Weaving
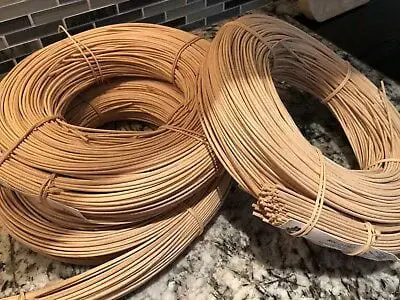
Packed reeds are available at the nearest craft or supply store. Those are packed and sealed well to be used right away. However, there are also freshly made weaving reeds; weavers can buy. A lot of basket weavers also choose to grow their material.
There are two steps on how to prepare the basket weaving reed. To do so, you need the following materials:
- Fresh reeds
- Strings
- Clothespin
- Large basin
- Scissors
- Warm water
- Towels
First, take a few pieces of reeds and tie them together at the top using the strings. Hang and store these in a dry and well-ventilated room.
Make sure the reeds are fully dry. Keep it away from the light so it won’t discolor. It would take a minimum of three days to a week for the reed to get dry, depending on the humidity and weather of the place.
Second, after the weaves dry, cut them into the desired length and sizes for the basket weaving design.
Third, get the basin and fill it with warm water. Make sure it is not hot. Put a couple of reeds into the water and soak it for five to ten minutes. Do this until the reeds get flexible but aren’t mushy. Take it off the water and use the towels to dry them.
Now, the pliable reeds are ready for basket weaving. Make sure to use it right away. You can spray water on the reeds to keep it all moistened out. Soak more reeds if you needed to, but avoid soaking a lot for them may dry out again before using them. Once the water cools off, change it again to warmer water.
However, be careful not to soak if for a long time, since the reed will change, and bristles or hairs will appear; thus, the appearance will have a significant change.
How to Properly Use Reed in Basket Weaving
After preparing the reed, you can start making your baskets. You might need different sizes of reeds as you go around and make the different parts of the basket.
To start, you need to make the base of the basket. The process depends on the type of basket you want to make. It will start with the reeds or spokes laid down on the table, make sure they are parallel to one another with a bit of space in between. They are like rows of reeds lined together. Next, you may start to weave the reads perpendicularly. This means, start weaving another set of reeds to the parallel ones in an over-under design.
When the base is done, from each end, bend the spoke upward. This is to create the walls of the basket. This process is named upsetting. Using the same under and over method, the walls of the wall will begin on the bent spoke.
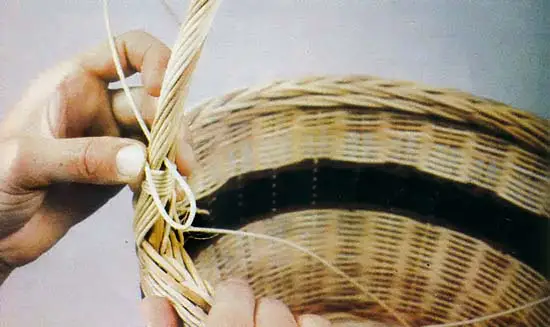
To give the top of the basket, the clean finish, get a longer reed, and coil it around the top row of the basket. Put it in place using the clothespin. Weave the end of the long reed to the top row. Do it over and over again, while making sure the reed is secured and tightly sealed.
Conclusion
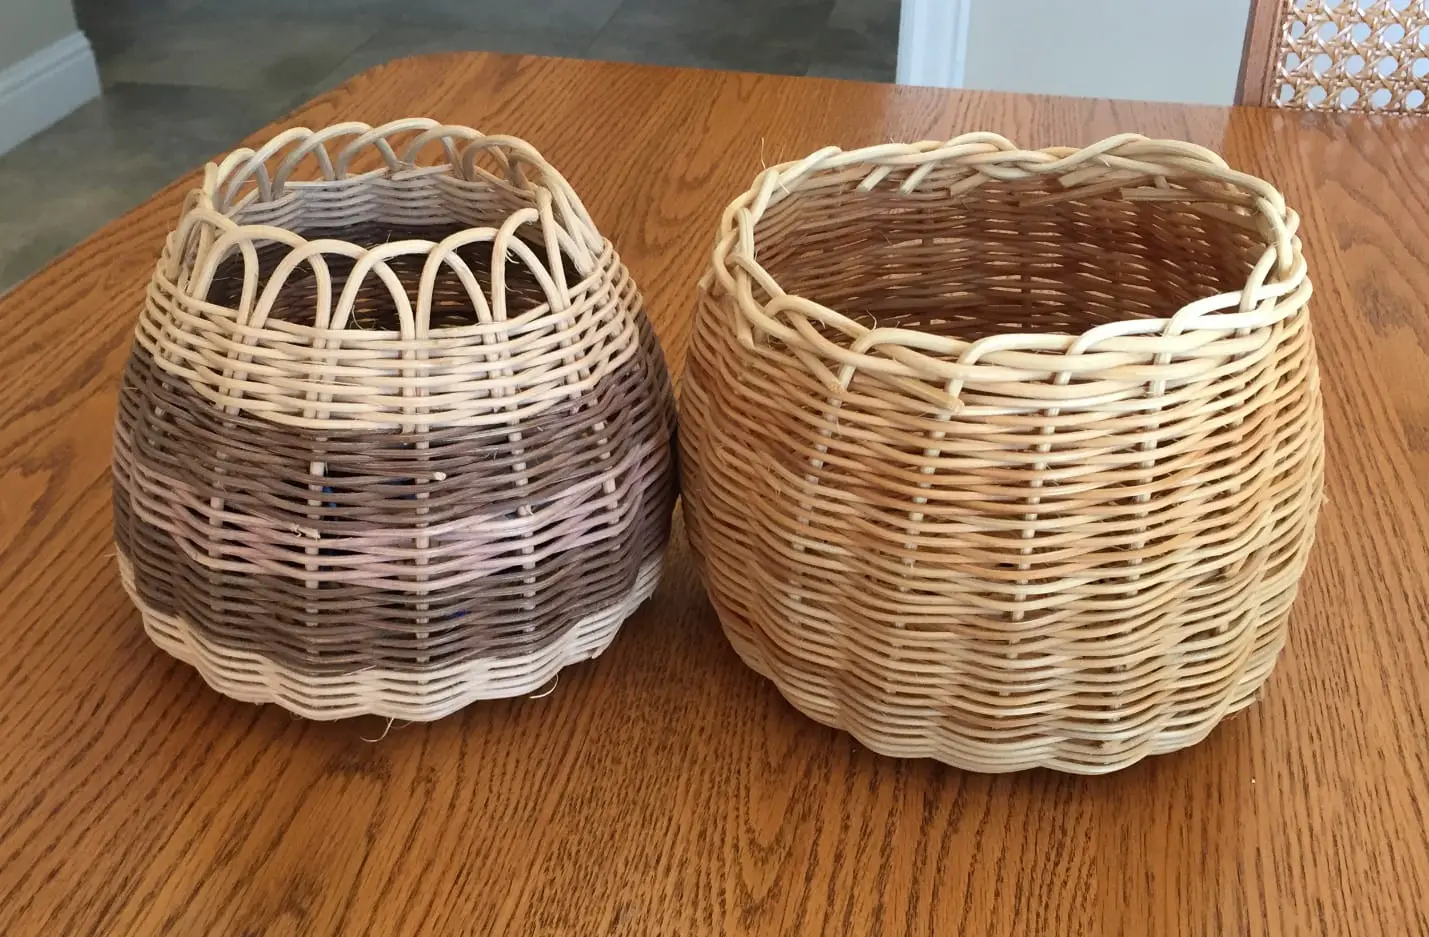
The quality of your reed and how they are prepared will have a significant influence on the outcome of your basket. Poor-quality reeds will just break and split while doing the basket weaving. So, it is very important to check the quality of reed before buying them. Good quality reeds are light and lush in color, while darker ones are not good.
Some reeds are considered expensive by many. But the feature it has makes it all worth it. Reeds are also known to be easier for basket weaving since they are relaxed and light to manage. True enough, reeds are one of the best baskets weaving material you can have. On your first try, you can try and practice using them, and you will find no problems.