One of the classic and timeless designs that fit on any occasion is a bow. It can be in a dress, in a hair clip, in a cake, in gifts and mostly in wreaths. There is no question of how bows make every design a little interesting and appealing. They even come in different shapes and ribbon designs.
Nothing beats unwrapping a bow or making a design out of a simple ribbon. It may look a little difficult, but there are easy steps on how to make a wreath bow. With the use of your favorite ribbon, you can easily transform them into different bow designs.
This may need a little practice, so don’t be too hard on yourself. Instead, get a piece of cheap ribbon you can practice on. This way, you won’t be wasting money while still learning. Start with simple and easy designs, and when you are ready, you can go and try complicated designs that may need two or more ribbons. Learn these simple and easy ways to make a wreath brow.
Easy Wreath Bows You Can try Now
Get your ribbons ready for these easy wreath brows steps you can try now at your home. Spend your free time honing your bow making skills and start on these simple steps.
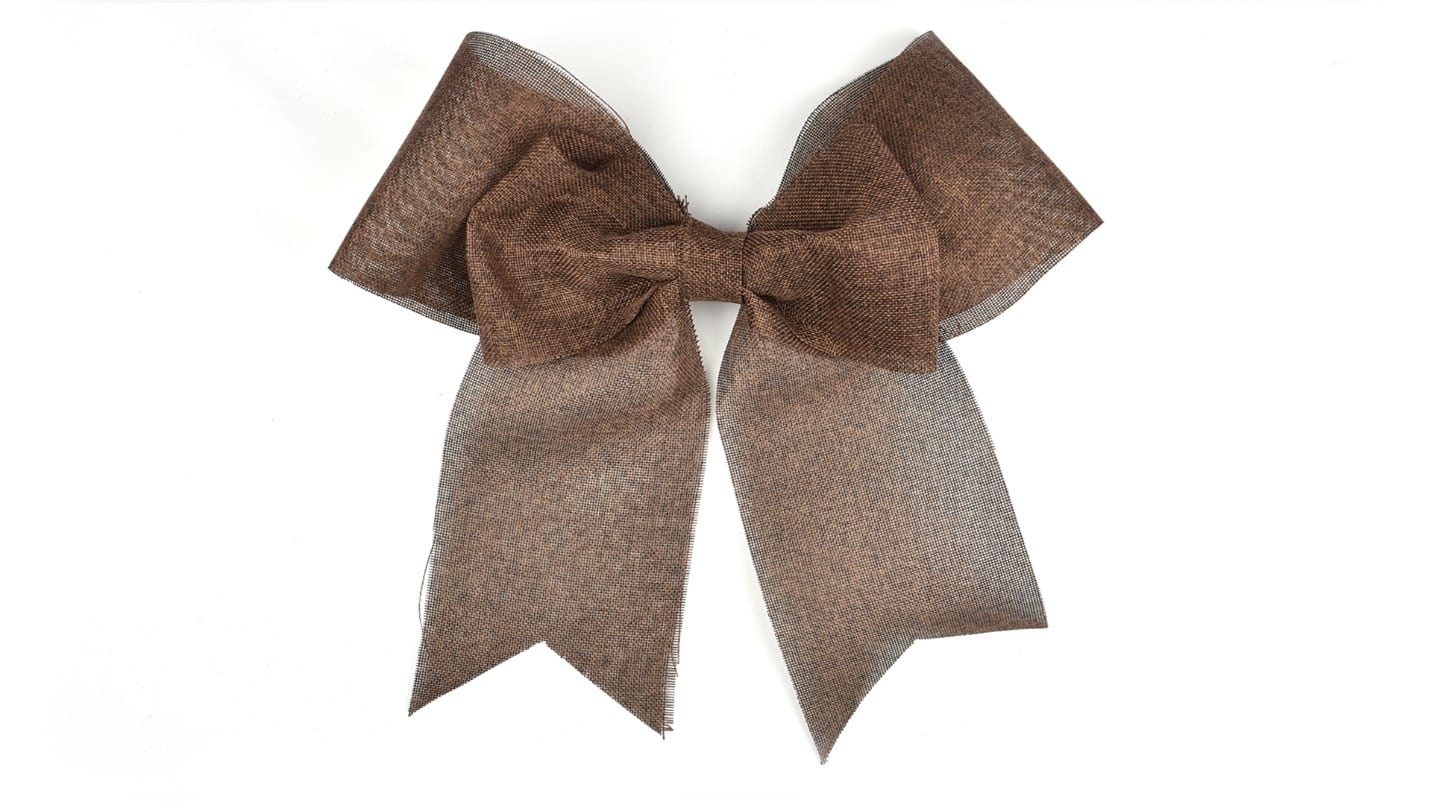
Easy Layered Wreath Bow
This is the easiest way to make the wreath bows perfect in every design. Here’s how you can do it.
First, gather different ribbons. They can be of different styles, colors, and widths, which you think will blend easily and admirably together. Cut them into thirty inches per piece.
Second, fold the ribbon pieces into half. Stack them together in a loop manner. Third, wrap a piece of wire around the center and secure it in place.
Then, spread the ribbons to create a design. Spread it out and adjust the ribbons. It will look like a flower in this stage. Cut the tails diagonally to create an effect. Now, your bow is ready to use.
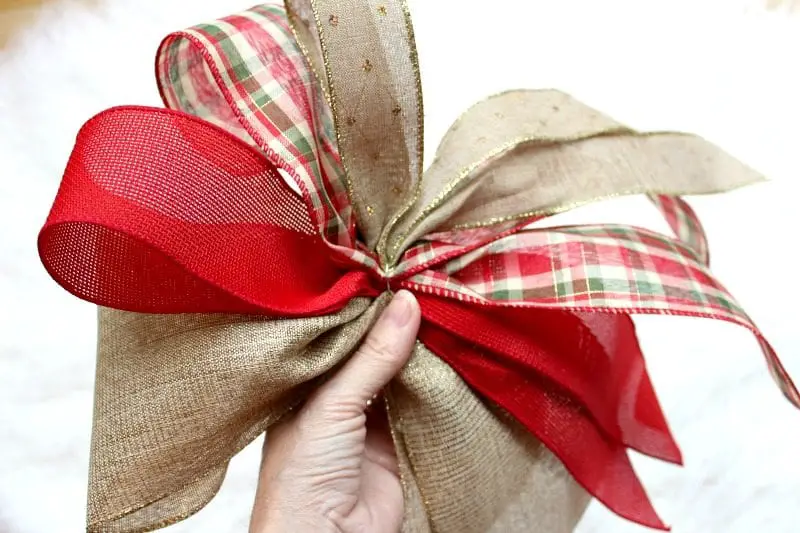
Ribbon Bow for your Outdoor Wreath
Learn how to make this style of ribbon using the following materials:
- Three yards of ribbon
- Need and thread or Hot Glue
- Scissors
First, cut the ribbons into two long strips. They could be forty inches long. Then use each strip to make a double loop. Then, pile the ribbon on top of one another. Make sure the other once is upside down.
Secure the middle with a needle and thread. Stich it up to secure the two loops.
To prepare for the tails, cut another two strips, and each strip is a foot long. Take your needle and thread again and sew the tails on the back using some secures stitches. Next, cut a little strip of ribbon and wrap it around the middle part of the bow. This is to give a clean finish and good finish on the center.
Now, your ribbon is done. You can pin int on your wreath using the thread or hot glue. Put it outside your door and let passersby admire it.
Make your own Loopy Bow
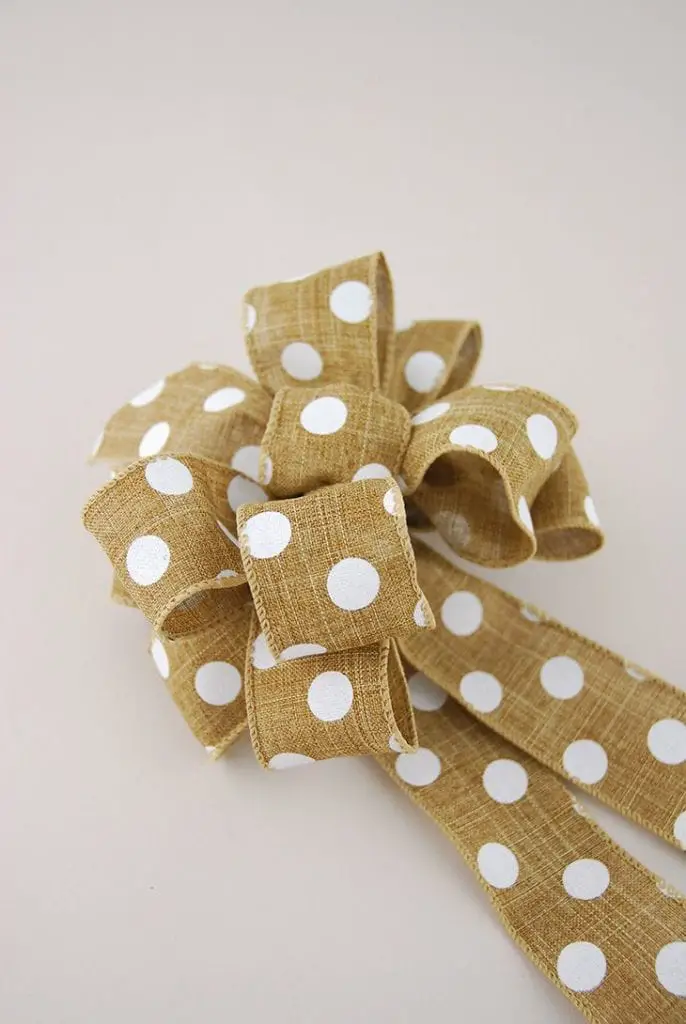
Get ready to start and make your loopy bow using these simple materials:
- Three yards of ribbon or more
- Ribbon wire
- Scissors
- Wire Cutters
First, curl one end of the ribbon to make a center loop. Hold it on its base. Fold and twist it up so your fingers will have a more comfortable grip, and the front side of the ribbon is facing up.
Fold the ribbon under and make the first loop. Twist it and hold it in the center, together with the center loop. Make sure the side of the fabric is facing out.
Next, fold the ribbon again, this time on the opposing side for the second loop. Check if both loops have an equal length. Twist the ribbon and pinch it again.
Then, start making the next set of loops. Use the same method, and keep all the loops in equal length. Continue the process until you are on your fifth set.
Once you are done, get the ribbon wire and insert it inside the center loop and wrap it around the ribbon. Tie the wire on the back.
Cut the ribbon tail as long as you want. Get the remaining ribbon and fit it into the center loop. This will be used as the second tail.
Take the longer ribbon wire in the back and enter it into the center loop and around the back. Twist the wires to get a tighter grip and cut it short. Flatten the bow and adjust the loops so they will form a circle and make the bow.
Trim the tails for design, while making sure the top tail is not longer than the loops. Now, your bow is ready.
Conclusion
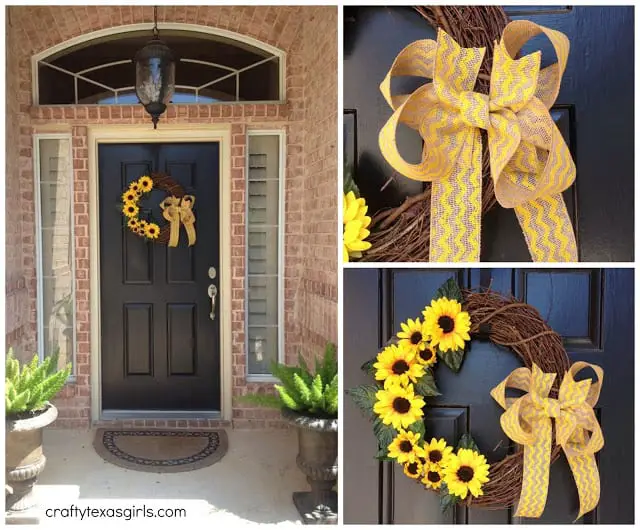
One of the best tips on how to make the best wreath bow is to choose the correct ribbons to compliment your wreath style. By doing this, the bow will add to the beauty of the wreath. Once you get to do these simple and easy steps perfectly, then you are ready to make the complicated wreath bow designs.
The idea is not to make the wreath bow complicated. The key lies in not overdoing it. So, take your blends of different colors and put them all together. Don’t be afraid to create wreath bows of out flashy looking ribbons. But know when not to overdo it.
You can even make it simple. Its simple design is enough for the beauty to shine. Even simple wreath bows will do the trick. It all depends on what you want. Once you get to know the basic and the pro ways on how to make a wreath bows, it is up to you to decide which techniques suit you best. Have a fun time practicing and getting to know your ribbons.
