Constructing burlap wreaths is genuinely one of the supreme all-time beloved crafts. It could be very versatile and can represent any season or holiday.
At the end of this article, you will know how to create a DIY Burlap Wreath that is perfect for any occasion you wanted to. You can create one for the Christmas season and Christmas holiday.
History of Burlap Wreaths
Burlap is such a fantastic piece of the craft because it is cute, also versatile, cozy, and inviting, and lastly, it is so easy to work with.
There are two theories about this creation; one is; the wreath was covering the period back to the greeks and Rome, in which members of the Greco-Roman social structure would use fresh garden leaves and small fruit twigs as well as flowers so they can produce wreaths. These wreaths were worn like headdresses and depicted one’s profession, position, accomplishments, and standing.
The second hypothesis regarding the wreath ‘s origin is traditional Christian legend and states that the noble wreath-making craft started millennia ago before Christ’s advent. Christians created Advent wreaths to symbolize every resilience of survival that they displayed by persevering despite the extreme winter power. Nowadays, Christmas wreaths is still an emblem of Christian eternal life, because both the ring and sphere embody immortality.
Materials you will need in wreath making Burlap
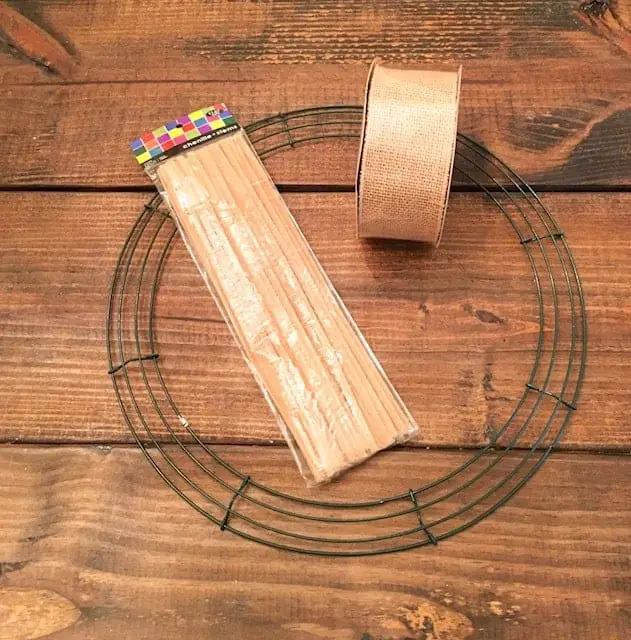
If you are now ready to create something beautiful, we will now provide the list of the tools and things you need:
- Burlap Ribbon
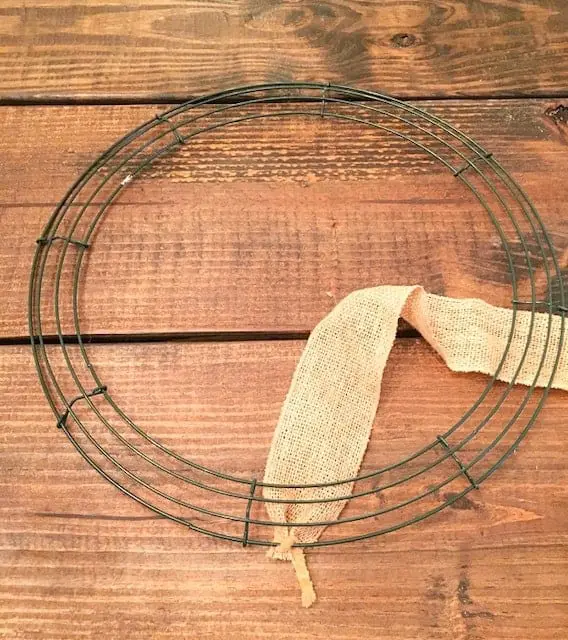
- Wire wreath for making Burlap frame (12 inches )
- Pipe Cleaners
- Embellishments ( optional )
- Glue Gun
- Scissors
What type of Burlap Ribbon you can use:
For making a burlap wreath, you can choose either a wired ribbon or a natural wreath. You can also select both if you prefer. You may also expect that Burlap ribbon may shred, so you may want to be careful and not be too surprised.
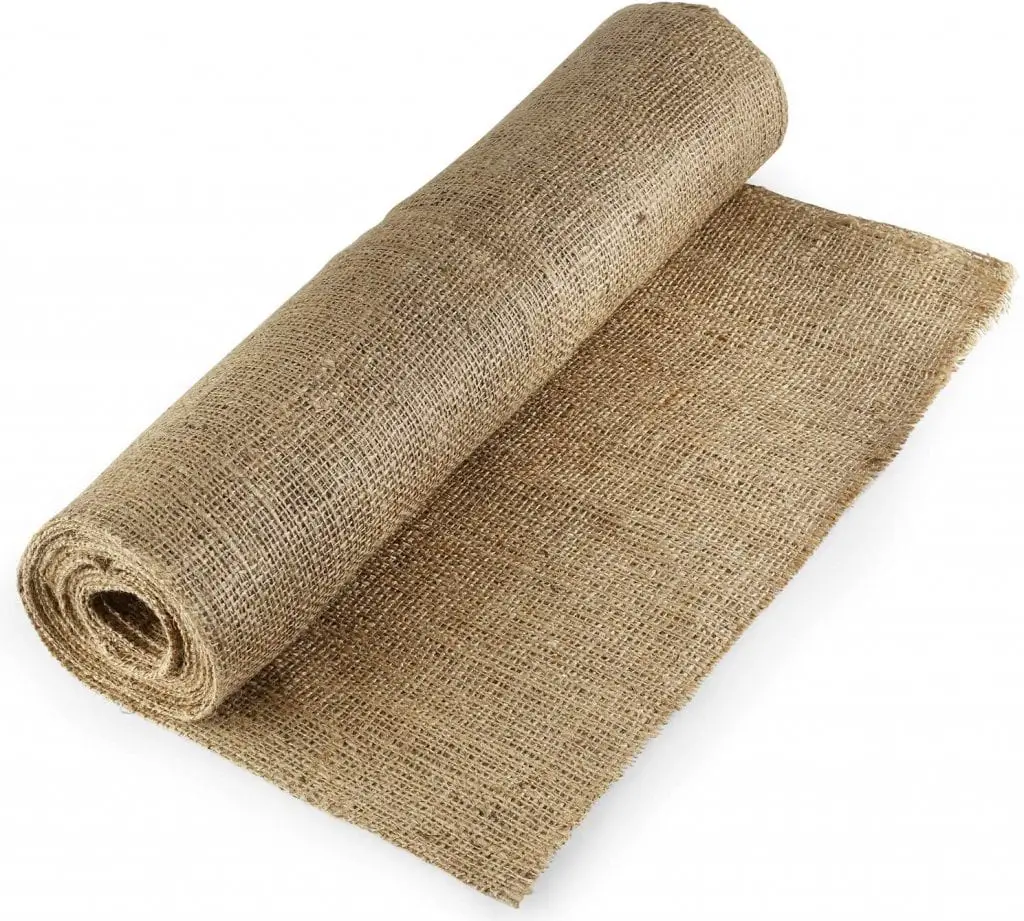
- Choose a roll respectively 6 and 12 inches wide to provide enough fluff for your wreath. Using a six or 8-inch broad burlap for such a wreath, which is fluffy-standard. If you want a thicker wreath, use 12 inches. Burlap
- You should have a nice cut of at least 25 inches of burlap for your 12 inches wreath frame.
- You can get a ready ribbon roll or do a cut manually from your wreath sheet.
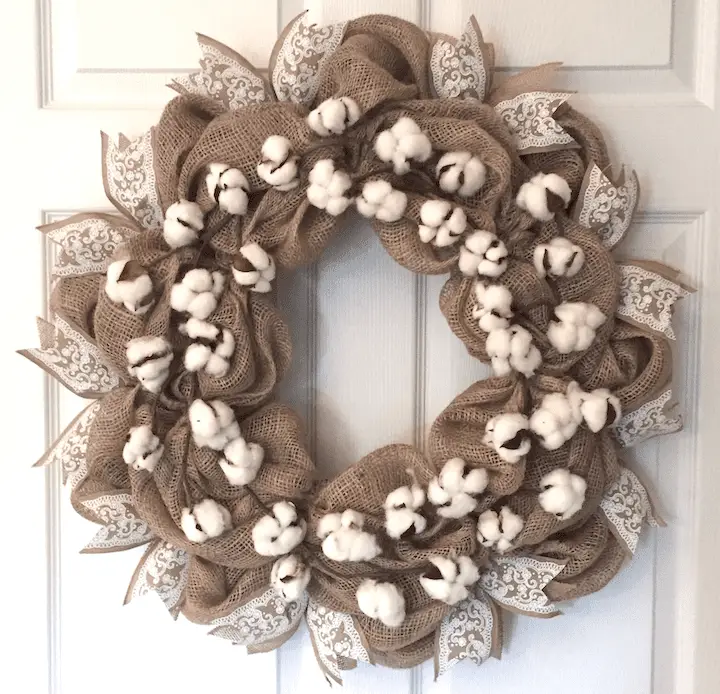
Making Burlap Wreath Step by Step Guide
This particular design of Burlap Wreath will be perfect for the Fall season.
You might be wondering and ask why we added a pipe cleaner with wreath in making burlap decor. Trust us as it will make your life easier in this tutorial instead of you buying floral wires.
- The first step is you need to feed it into your ribbon ( burlap ). Since it is cross produced, it will not be challenging to execute.
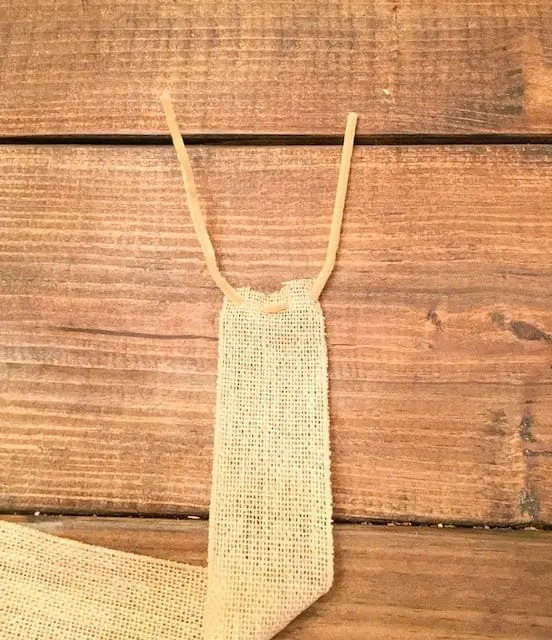
- Twist your pipe cleaner across the ring outwards of your wireframe ( wreath ), so it can hold in place.
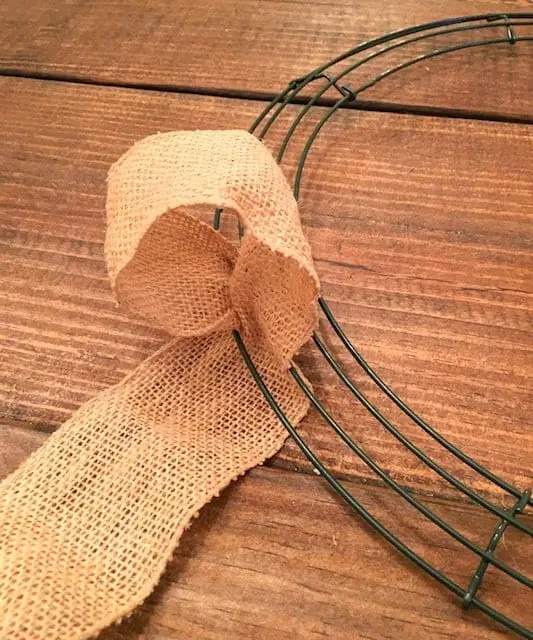
- You would then squeeze a loopback in between the outer ring and then the next ring through the first segment. Anything that will appear such as this. Continue to replicate the process until you reach the loop within. Then, you will have three loops.
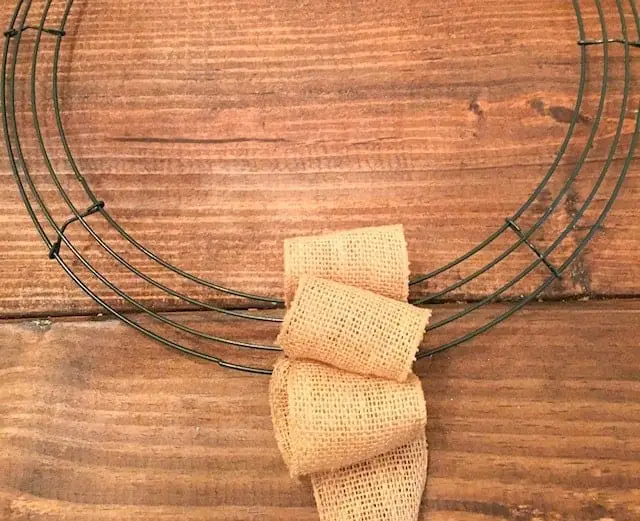
- Then, you are only going to repeat the cycle. You’ll need to curl the cord and move it through the wreath framework and avoid getting it through. Only focus on ruffling, and it’s going to look fantastic!
TIPS: Have a rest before you start another roll, and praise your talents in carving! It’s also a nice way to see whether you’d like to make the loops wider or smaller and make your beautiful burlap wreath great!
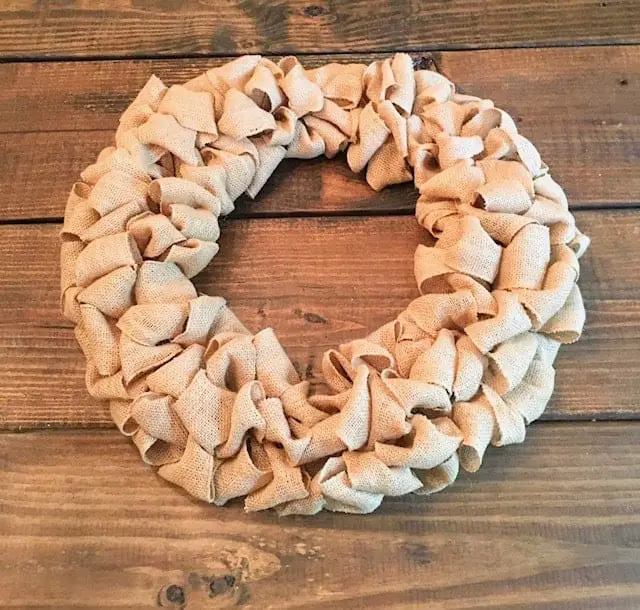
- Eventually, fasten the ends of your burlap rope with the pipe cleaner into your wreath frame until you’ve worked your progress across the wreath, just like the one you did when your burlap wreath program began.
Decorating Your Burlap Wreath with embellishments
1. Before even starting, you should decide with the motif or theme for your wreath. Will it be for the Christmas holiday or a decoration for the Halloween. Choose ribbon colors from a craft store near your place.
2. You can add a ribbon accent at the top, and you can also choose your theme.
3. You may also opt to put some artificial leaves using glue guns or pins. For example, you can add snowflakes if it is for Christmas season or orange and black ribbons for the Halloween.
We added a Video Tutorial as your guide too:
