What is Painting Stencil?
One traditional way of creating designs for painting and other artworks is through a stencil. It can be made up of various patterns on walls, floors, ceilings, and others.
A stencil is such a fun and easy way to express one’s artistry, especially since it can also be personalized using plastic and papers.
The main purpose of using a stencil is actually for a painter’s convenience as it is made to ease their way into producing designs for their crafts.
One piece of a stencil can be prepared through a tracing paper, scissors, craft knife, or cardboard. With a stencil’s help, a painter’s work becomes a lot lovelier and more interesting.
So how do you make a stencil for painting then? Some tricks in doing it and a few details about its two unique forms can be found in this article, so go on and read through.
Two Forms of Stencil
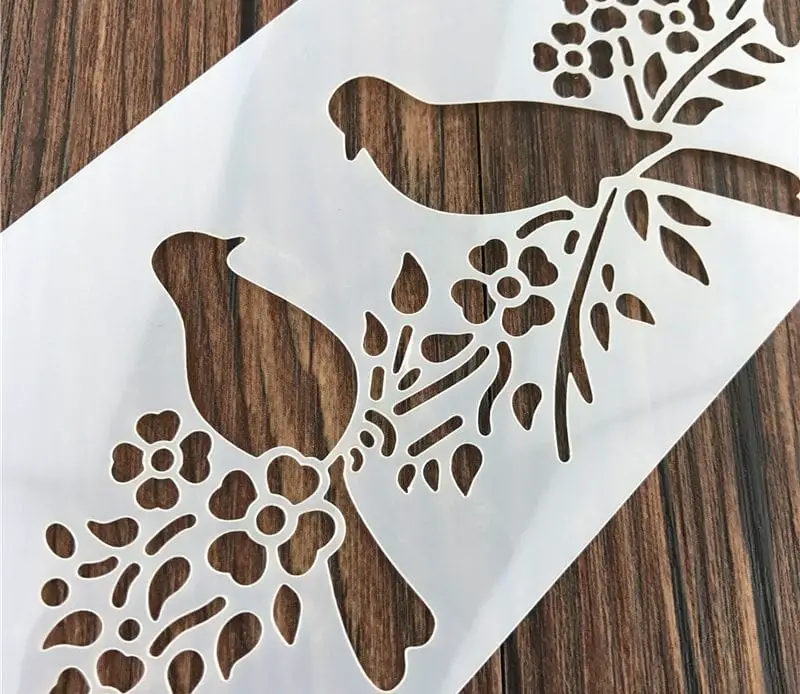
1) Basic Vinyl Stencil
Step 1 – For beginners, this is the easiest way to go, which makes use of vinyl as a medium for the stencil. You can simply choose the design you like to use on the internet and print it on vinyl. It is as easy as putting the vinyl on the paper tray of your printer and clicks the ‘Print’ command. Presto!
However, the result may depend based on the type of printer that you have. It must be a type that allows the use of vinyl material for printing. Similarly, for laser printers, vinyl is not allowed because it may be destroyed due to the high temperature produced.
Otherwise, if you are stuck with only a laser printer, what you can do is use first a regular paper for printing then trace if on a vinyl. Use a permanent marker so it will be easier for you to trace it later on.
Step 2 – Cut out the design on a cutting mat using a specialized knife known as an X-Acto knife. Gently and carefully cut the edges of the design to remove the interiors needed to emphasize the design.
All of those cutout parts shall be painted, so you must be careful not to cut unnecessary parts.
Step 3 – make the stencil steady on the surface that you are using with appropriate tape. It is very hard to maintain the stencil’s position on the surface while you are working on your masterpiece.
If painting on a permanently painted wall, use a painter’s tape to make sure it will not damage the paint on the wall, too. This way, your work’s result will never be ruined even if it takes you a long while to finish.
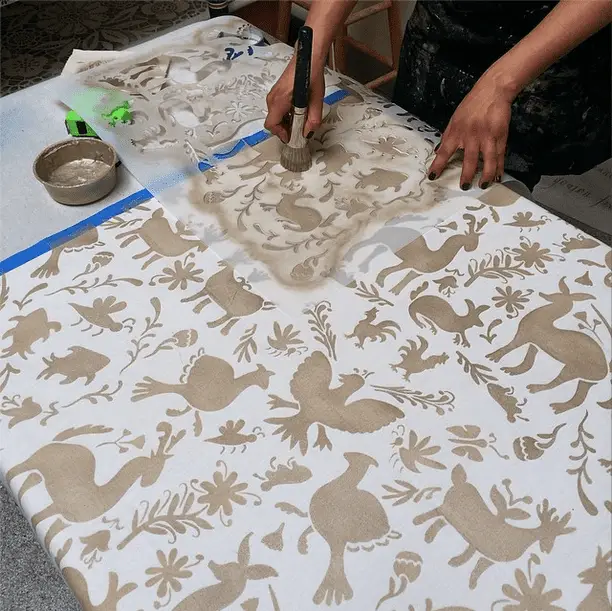
Step 4 – coat your stencil 2 to 3 times to ensure evenly painted stencil. Each layer of the coat must be left to dry before putting the next one. Likewise, putting thinner layers of paint requires less waiting time for drying as well as fewer brushstrokes to be seen.
Brushing prevents your work from having smears or pushing paints under the edges of your stencil. For wall decoration, stencils paints should be done through interior wall paint while for ceramic, choose to use acrylic paint.
Spray paint is also advisable for quick and easy stencil-making.
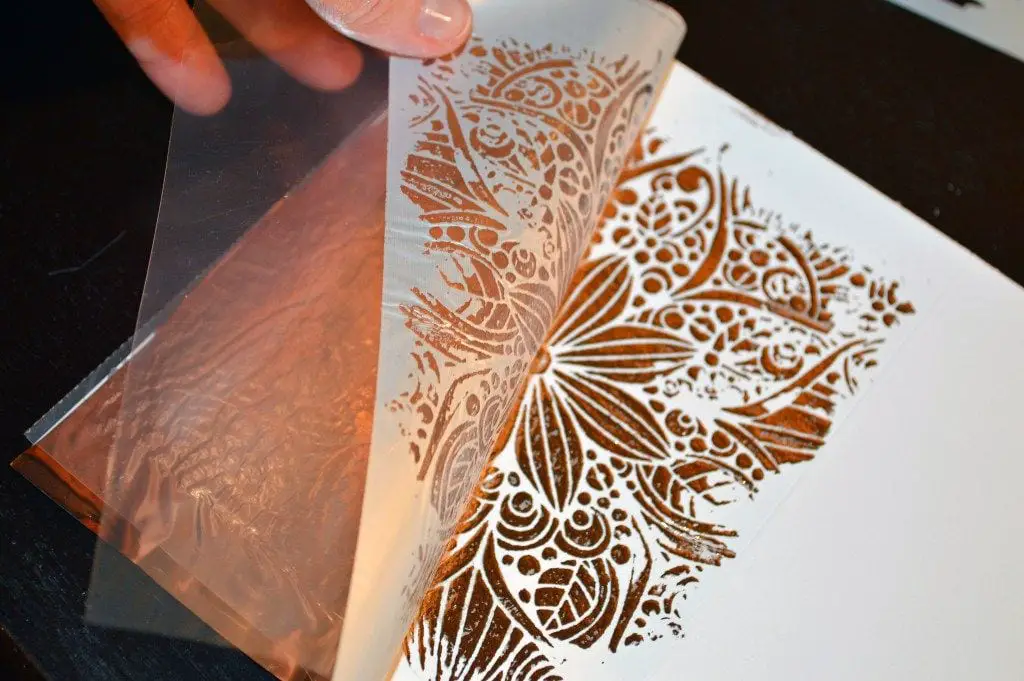
Step 5 – check the drying time of the paint you used, which usually lasts for 24 hours. Never try to take off the stencil before the suggested time to avoid ruining your masterpiece.
Drying time is commonly based on the brand of the product, as well as in the type you used. One easy way to tell if the paint has dried already is to see if it still feels sticky when detached. Give it a bit more time to dry out in that case.
2) Fabric Stencil
Step 1 – similar to a vinyl stencil, choose from the designs on the internet and print it using the material you have. Use a freezer paper instead of vinyl for printing your design, except if you are using a laser printer. This type can melt the material you are using and thus destroy your design, too.
For laser printers, it is advisable to print the design first on a regular paper before transferring it to the freezer paper. The design has to be on the matte portion, too. Once done, use a permanent marker to trace the design onto a freezer paper.
Step 2 – cut out the design using the specialized X-Acto knife. On the one hand, hold the X-Acto knife for cutting and use the other hand for holding the paper in place.
Taping all four edges of the paper or asking somebody to keep the paper in the same place while you cut out the design is also recommended.
Keep in mind as well that all of the parts that you will cut shall be painted. Thus, all edges and details must be carefully cut out of the material.
Step 3 – Iron the stencil onto the fabric. The part of the paper that must be touching the fabric is the shiny side. The matte side of the paper tends to stick to the iron, so it must be prevented. Run the iron onto the entire design on the fabric to ensure that all sides are locked and sealed together.
However, the iron should not be let touching the fabric for too long, or it shall burn and melt the design. No loose edges or gaps are allowed to be left since paint tends to slip through them if not properly sealed.
Step 4 – Place another sheet of freezer underneath. Doing this ensures that no paint bleeds on to whatever you shall be placed underneath the paper. Other alternatives to protecting the other side of the material instead of a freezer paper are through either a piece of cardboard or some sheets of newspaper.
Step 5 – put 2 to 3 layers of paint over the stencil, to begin with, the design. Permanent paint is one type of paint that does not easily get washed off. Also, prevent regular brushstrokes for painting since it pushes paints to bleed under the stencil.
For the T-shirt painting, it will depend on the color of the shirt that you will be using. For example is when you have light-colored shirts to put designs on, painting with more layers and doing more coats is advised.
Step 6 – let the paint dry for 24 hours before removing the stencil. It may vary from one brand and type of paint to the other, but the rule of thumb is to let the paint sit for a whole day.
Step 7 – remove the stencil from the fabric if the paint has already dried. Do not remove the stencil while the paint is still wet, or else, ruin the stencil as well as your whole work.
How to Use a Stencil
There are a lot of ways that one can use a stencil for which is, again, easy and convenient. Depending on the design, stencils may be used for any or all of your home furniture, such as:
- For custom design – draw your own decoration design on a piece of paper and then just transfer it later on in your final material.
- For curtain designs
- For pillows, and others
Final Thoughts
All those creativity you keep inside has a long way to go if only you have certain skills like in making stencils. Such output helps you add more details and art to your work. Aside from that, it is easy to produce either hand-made or printed from the internet originally. This article about how do you make a stencil for painting is thus very helpful.
Sources: