Stencils have a similar placement in arts like drawing and painting. We were somehow familiar with them during the younger ages of our lives. For children, stencils provide a simple step to be innovative by not drawing as they only put the design above the area and press with paint. The tools of this art should not be underrated, though. For grown individuals, there are still several innovative possibilities provided that they are open to learning how to apply them.
So, if you are seeking for another art method to experience, stencils are great. They range from easy to difficult and can be amalgamated to other forms of art or utilize them for DIY projects. To begin in stencil making, here are some ways on how to create your piece of art.
Materials Needed in Stencil Making
- Mylar Craft Sheet and Design
- Pattern
- X-Acto Knife
- Cutting Mat
- Low-tack tape
- Ruler
- Permanent Marker
Steps in Stencil Making
1) Find or create a design you love
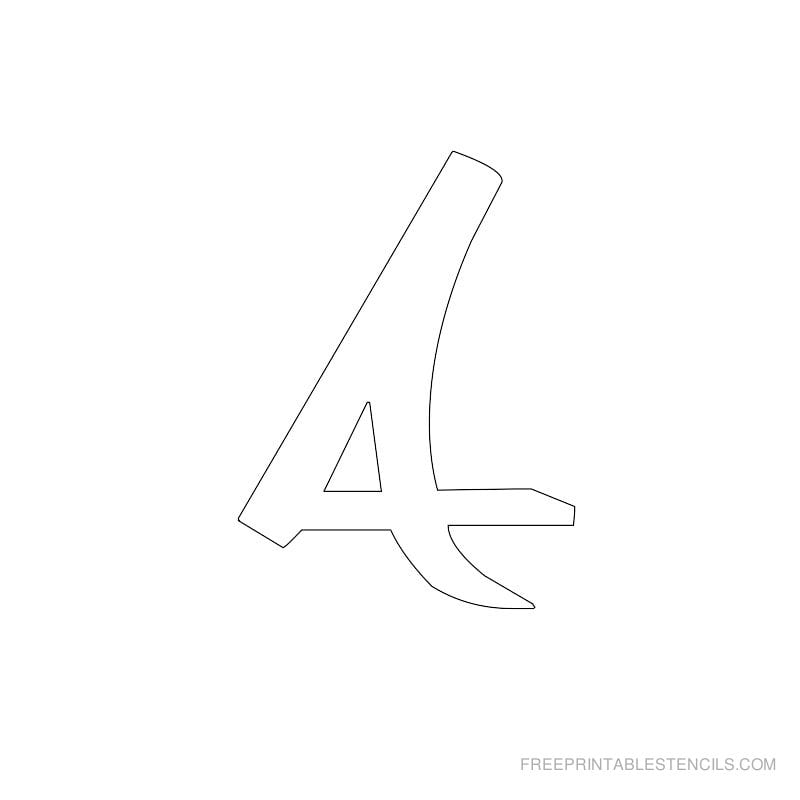
There are several online resources to see free printable stencils. Below are some of them:
- Free Stencil Gallery has a wide selection of stencils to look around and download like animals, games, music, people, and the like that can be saved and used later on. Below is an example:

- Free Printable Stencils is similar to the above source but it comprises border stencils to copy. Here is an example pattern:
- Free Stencil Maker is a piece of equipment that causes a personalized stencil. Merely key in the word you like to be as a design in stencil making, choose the font and copy it. It has as well a device that generates pictures. For example:

2) Align your chosen pattern and Mylar sheet
This step is simple when you utilize a cutting mat since the majority of the mats give ruled patterns. When you utilize cardboard or another tool to trim on, a ruler will do well greatly. If you already have your stencil pattern and Mylar sheet square and even tape it in the right location.
3) Trace your chosen stencil pattern
Utilizing a marker, begin tracing the pattern. If your stencil pattern is big, you may utilize the printed model to move your design around and do the pattern again. It may require plenty of time in tracing with this kind of pattern but you will have fun doing it. You need to utilize a ruler in tracing straight lines and your hands for other lines or shapes. Use your time well in tracing your pattern. If there are mistakes, do not worry about them because permanent markers will be effortlessly removed on Mylar using Q-Tip and alcohol.
4) Cut your traced stencil design
Cutting out the design with an X-Acto knife is simple but requires quite of time. For a large pattern, cutting it mat take up to 3 hours. However, to make it easy, it is best to use a superb sharp cutter and a ruler for trimming straight lines. The X-Acto knife does well if stable though there is pressure in cutting. After this, pop out the trimmed piece and make sure that the Mylar will not be ripped.
5) Your stencil is set to use
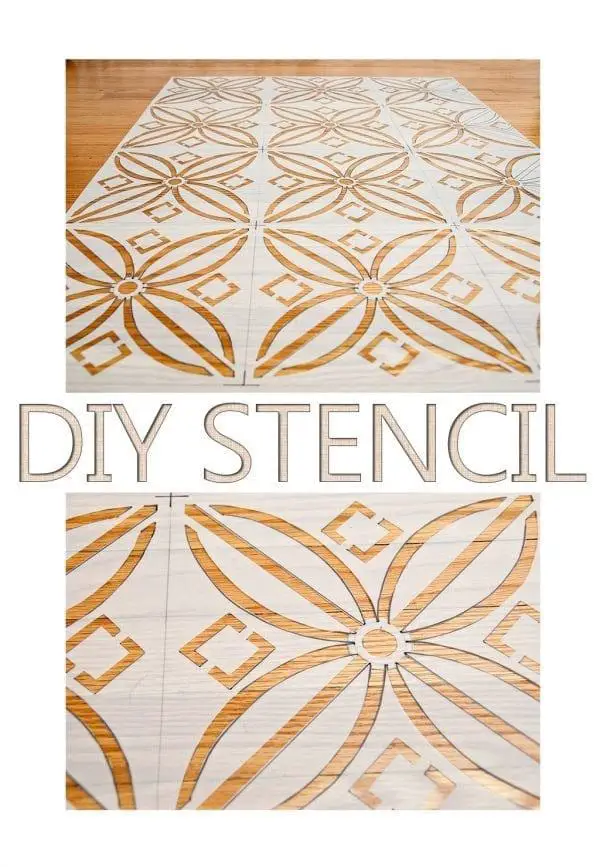
When everything is cut out, the stencil is set to go for use. Here is a sample of a completed stencil pattern.
Pros of Stencil Making
- Personalized – you can select your design and make it customizable as well as adjust the pattern based on the intended project.
- Re–usable – the stencil you created can be utilized again and again similar to the one sold in the stores.
- Time Saver – though it takes time to cut out the pattern, it still saves time as a whole because you do not need to spend time searching for the designs you need.
- Cheap – stencil making does not cost over $100.
Cons of Stencil Making
- Requires a steady hand
- Changing of blades
Tips in Stencil Making
- Choose a stencil pattern that is easy and does not have several of complex details. So that it will be simple to cut out.
- Print the design to a plain sheet of paper if a laser printer permits. After this, trace it to vinyl.
- Put a cutting mat below the stencil if you utilize the X-Acto knife to keep away from damaging the table.
- Always remember to cut out the entire inside pieces from the stencil.
- Wholly parched the paint before removing the stencil so that the final pattern will not be smeared.
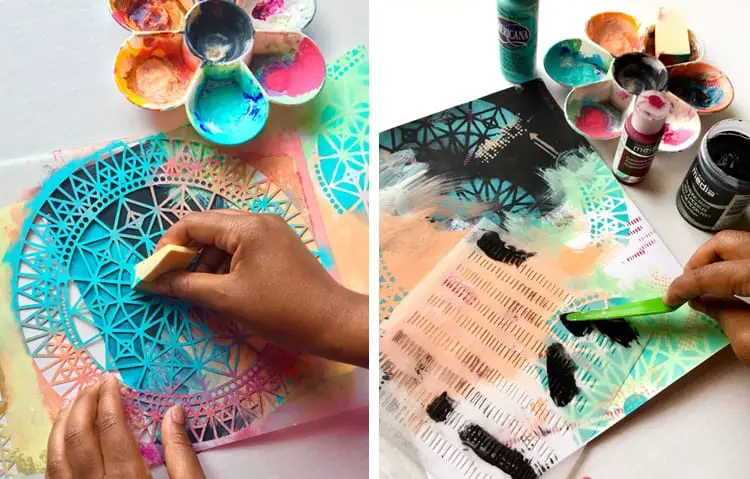
It is pretty simple, right? With these methods in stencil making, you can create your stencil in the convenience of your time and place. Stencil making is rewarding and can be fantastic. Pervading some designs or appearance into a room gives a lot of personalities and creates a dramatic yet pretty difference.
