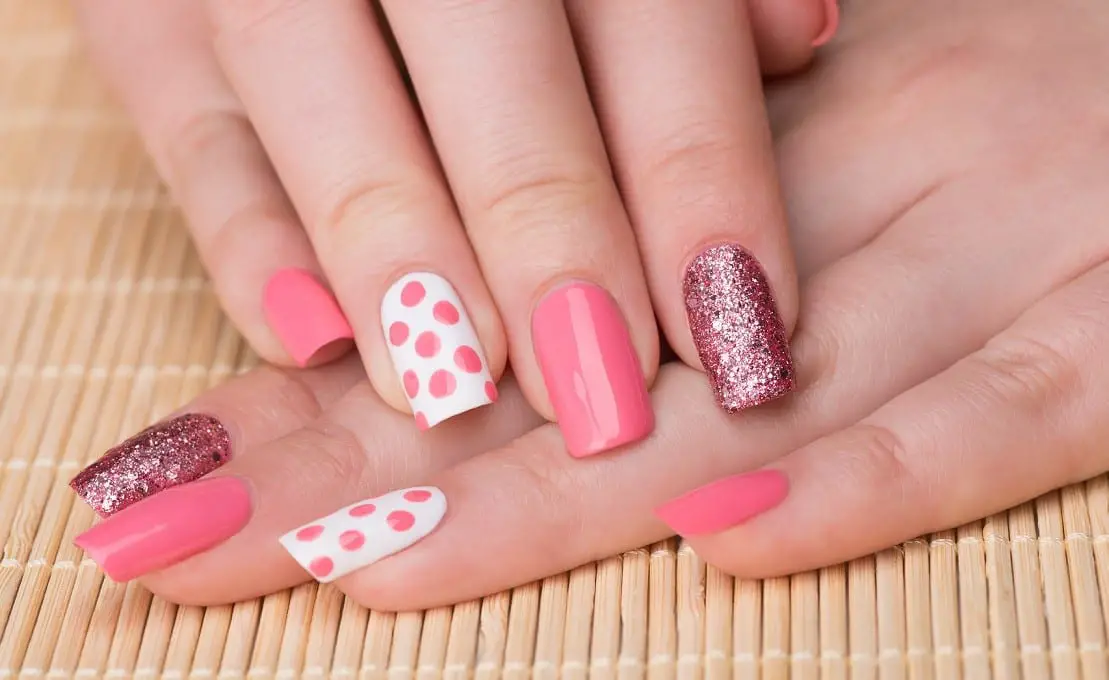
Stamping nails is one of the best ways to show your creativity. Nail stamping is no longer new, but only the experienced nail artists can come up with excellent works and results. If you want to be a pro in nail stamping, try these simple tips and hacks.
10 Tips and Tricks in Nail Stamping
- Find a good nail stamping polish. Normally, a polish that can cover your nails with just one coat stamps well. A metallic polish and a few matte nail polishes work effectively.
- Clean your stamping image before and after each use by using acetone. Get rid of the tiny bits of used polish. Check all the sides and see to it the stamping image is totally clean and ready for the next use.
- If you use a sticky or squishy stamper, push your nail into the stamping images. It works better than rolling the image through your nail.
- In cleaning the stamper, you can use some packing tape for picking up the residue and smaller polish bits. It won’t damage the stamper.
- Feel free to use the scraper included in your stamper. If not, use a used credit card or gift card. Hold the card at an angle of 45 degrees angle to the stamper plate and lightly scrape it.
- If you’re using an image that has a big open space for stamping, scrape the image from left to right and from up to down. It helps spread the nail polish all over mover evenly.
- If you are a novice, make it quick. Just work on the accent nail.
- Use an abstract image that is in free form. Don’t use straight lines or single images because it’s more difficult to line those stamps up directly to your nail if you are just new to nail stamping.
- Mix-and-match the abstract stamps on every nail. Try turning your stamper in various ways on every nail to make it awesome and unique. Mistakes are less noticeable if every nail is unique.
- Bring your manicure to the next level by stamping several colors of just one stamp on every nail for a great layered effect.
Try Reverse Stamping
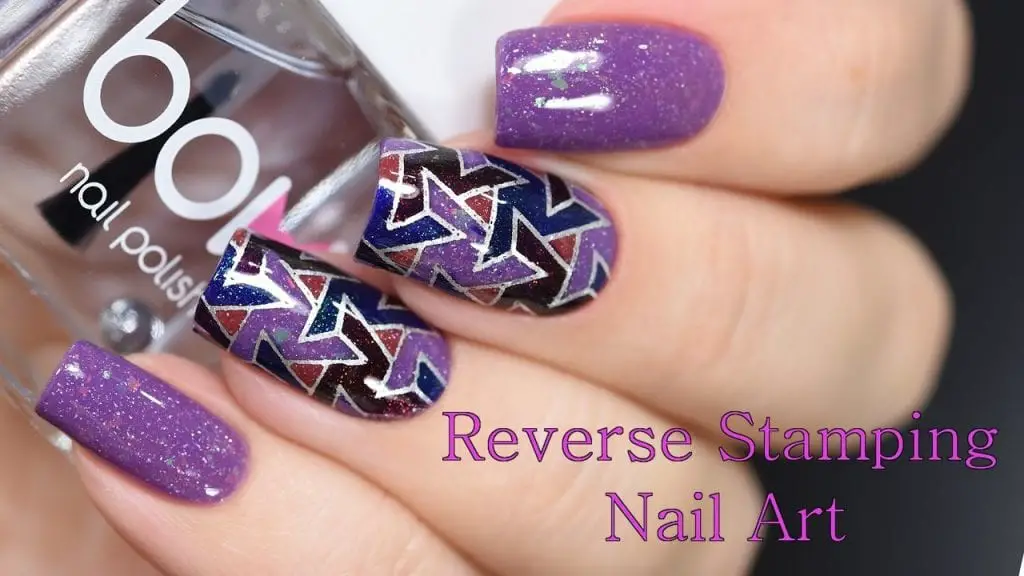
What is reverse stamping? Well, reverse stamping is a good way of getting more colors painted on your nail. It will work well for tiny images. With reverse stamping, you put color in the image right on your stamper.
When it dries, apply the top coat with some strokes to the painted nail, just like dry brushing. Stamp a colored-in image straight to your nails and seal it with the top coat. Reverse stamping will take more time for the preparation, but it’ is extremely relaxing. The final result will be amazing. Here are the steps:
- Apply your stamping polish to the stamping plate. Don’t forget to scrape off the excess polish with your stamp and scraper.
- Apply a non-quick-drying top coat all over the whole image on your stamper and let it dry.
- Use a slim nail art brush or a tiny dotting tool. Get started in filling in the image with various colors of nail polishes. Likewise, you can use acrylic paint or nail polish.
- After you fill in your image, let it dry for around 5-10 minutes.
- With your tweezers and gently remove the image off the stamper. Your customized nail decal is now ready. The opposite side is your finished image.
- Put your customized nail decal on a dry and prepped nail.
- After putting the decal on the nail, you can smooth out the bubbles and cut off the residue by using scissors. Get some drops of acetone and brush the area with the cleanup brush to eliminate the excess nail polish all over the sidewalls or cuticle.
- Finish the job by applying the top coat.
Creating DIY Stamped Decals
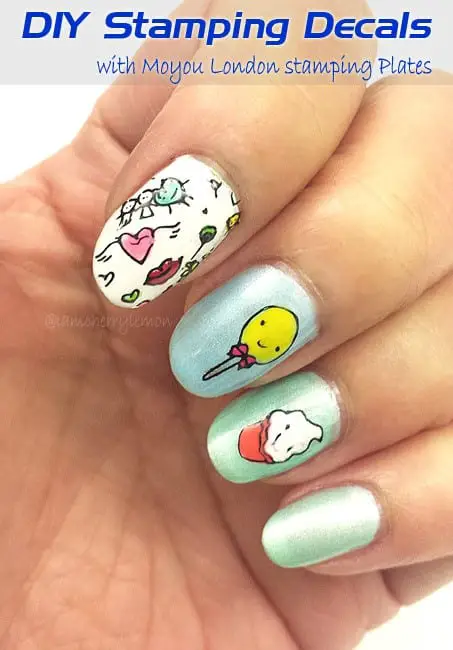
For bigger images, you can try creating polish decals. You can make one by painting a square-shaped coat of colorless polish on the sandwich bag. Let it dry and then stamp the image on clear nail polish and color. After it dries, gently peel off the decal from the plastic. Trim the decal to lessen the amount of excess polish that you will have to clean in the end.
Apply some clear polish to the painted nail and put down the decal on top. Press the clear polish firmly down, then paste down your decal to the sides of your nails. The tiny bit of translucent polish and flattening the decal will help prevent the air bubbles from getting trapped underneath the decal.
Next, clean up those drooping bits of your decal before you apply the top coat. Or else, the overhanging part of the decal may likely fold over on your top coat and damage your design. When using a big image for your decal, cut it in half and use it on the rest of your nails. Random placement will make it easier to hide the imperfections.
In preventing smears due to your top coat, just give some time for the stamping. Let it dry completely and float more top coat on your nail in fewer strokes. Do the same for all your nails.
Conclusion
Stamping nails is a great way to add a touch of style to your nails. Feel free to try out different styles to find the most ideal choice for you.