Image Source: Kristina Paukshtite from Pexels
Nailed It
Health can be indicated by looking at a nail. Keratin is the main component that makes up our nails, including our hair. Aside from having a healthy nail, another way to beautify nails is doing nail arts. Before, there were only simple colors added to the nails to make it aesthetically pleasing, but improvements came when different patterns of the design were being applied to nails.
These awesome artists actually nailed the manicure and pedicure game by adding more color and expression to their customer’s nails. Often, bizarre objects and designs are being added in the nail to show off a new kind of art. This trend especially clicked to the eyes of young girls and creative ladies around the world, and lots of art ideas sparkled with this Nail Art revolution.
“But what if I’m no artist?”
No to pity party. Someone out there has got your back. This is why we come to close with stamping as an ancient art form of pressing ink to a surface to create a new masterpiece. This great collaboration has made millions of lives easier and more beautiful.
How do we really Stamp?
The Materials
First things first, prepare your materials. You’ll be surprised to know that these materials are cheap and can be found in the comfort of your home. If not, you can easily buy these at a dollar store or in your nearest drug stores and pharmacies.
For our parents, no sharp and harmful materials would be used in doing this project. Though for chemicals, it is best to assist your children in applying them. No worries!
- Paper Towels or Cotton Pads – As you stamp, you will constantly use tissues to clean off your materials. If you don’t have any, you can use a cloth which you should reserve for your manicure and pedicure needs for it will usually be looking dirty.
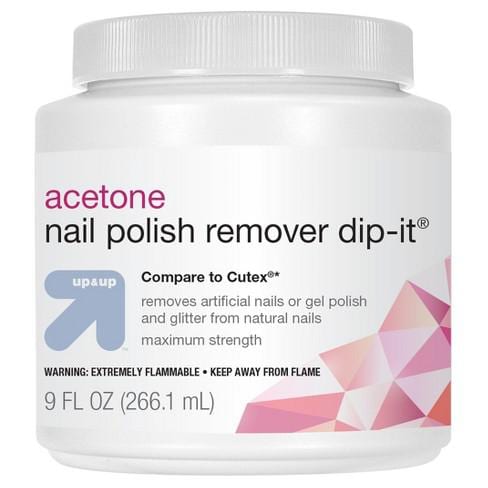
- Acetone – Use this nail polish remover to do its job in removing excess polish that should be left in your skin. The polish should also be cleaned off from the scraper, stamper, and stamping plate using this cleaner.
- Base Coat and Top Coat – Use these as to protect your nails from possible damage. Use the base coat before putting your polish and
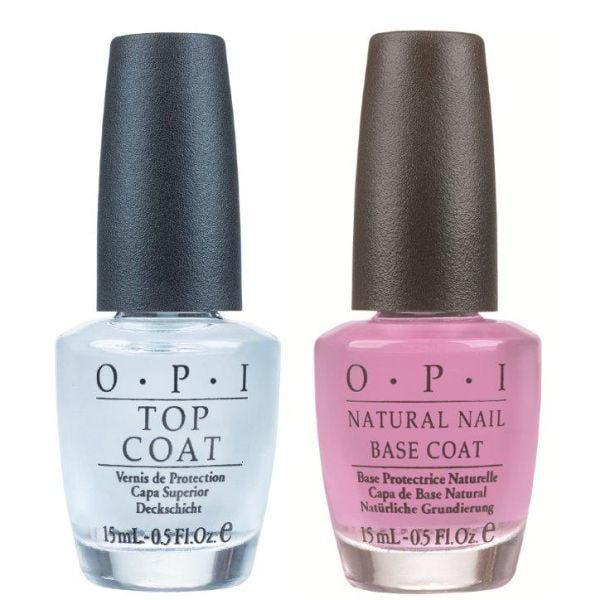
- Regular Polish (with the Color of your Choice) – Use it to paint your nails.
- Creative Art Polish – In a closer analysis, using creative polish shows a more pigmented and clearer paint than that of your regular polish.
Look at the difference. This left stamp is from a Regular Polish while this clearer one is from a Creative Art Polish. Still, whatever you have there, should you use for your stamp design.
- Clean Up Brushes (or Q-Tips or Cotton Buds) – Use this to clean the excess paint off of your finger. Cotton buds are your alternative if ever you don’t have any clean-up brushes.
- Stamper – this is the tool you use to transfer the paint to your fingers.
There are many kinds of stampers. However, use the rubber stamper just like the one in the middle of the photo. You are off to a good start if you use smaller ones and often practice rolling before trying larger stamps like the clear ones.
- Scraper – Use the scraper to remove excess polish you applied to your stamping plate.
- Stamping Plate/s – This silver plate is where you put the polish on and where you get the desired designs. It also comes in other designs and shapes, so purchase what you’d like to have.
This is how it looks like:
- Trash Bins – Prepare your trash bin near you as you would need to use tissues often. Less trash, less stress.
Preparing yourself and your working area
We ought to make sure that we are working safely in an efficient or spacious area. Keep in mind that this project will smoothly flow if given proper attention.
- A well-lit area is essential – planning to work in a dim place will make your nail stamping harder. You won’t see where your paint is getting, and worse, you’ll make your place dirty by stamping around your table. Get a lamp or stay near the windows to get that sunshine on your art.
- Choose the best kit or materials – Use the best for your nails. Make sure you use the best-recommended brand to ensure you’ll have really gorgeous nails afterward. It is even better to find a good brand with a cheap price for a stamping kit or material.
- It won’t hurt to check recommendations – Looking up at comments and recommendations wouldn’t hurt. Make sure you look at the best suggestions to benefit your stamping game.
- Clean your nails – It is an overstatement to mention that before we stamp, we should clean our nails for the best stamping result, we must need a clean skin and nails for the polish and stamp design to attach more.
- Make sure you apply your regular polish on your nails first – If you want to have a solid color as a base, apply the polish first, and dry it an hour or two before finally stamping your nails with stamps. On the other hand, if you prefer to have a clear nail for your nail stamping, that would also be great. Just make sure you use your Base Coat first.
Let’s Stamp our Nails!
Step 1. Remove the blue film off of your stamp plate to reveal the silver design you will copy from.
Step 2. Apply a reasonable amount of polish into your stamp plate. Make sure to use a darker color for this.
Step 3. Using the scraper, scrape off the excess paint to reveal the design. Yes, the polish will remain on the plate, so don’t worry about getting it off gently. Let me tell you here that scraping should only be done ONCE, not twice or thrice, as you will not get polish from it afterward. Do the scraping quickly as the polish hardens easily. Always remember that 45 degrees angle.
Step 4. Get your stamper immediately and roll your stamper on your plate. Start from the right side, going to the left side.
Step 5. After a few seconds, using your stamper, stamp it carefully on your fingernails using the rolling method again. Other methods include the usual stamping, but that wouldn’t stamp so much on your nails.
Step 6. Remove your excess polishes left on your fingers using your clean-up brushes and acetone.
Step 7. Always clean your stamper, stamp plate, and scraper every other application to the finger. Do this, and you will have a smooth flow from painting your fingers cleanly and beautifully.
Congratulations on your newly stamped fingernails!
Conclusion
It is a good thing to look for the best stamping kit. Nail stamping, after all, needs a kit. But most importantly, to have a beautifully stamped nails is up to your confidence. Even if you are not a designer, tons of tutorials on the internet exist, with thousands upon thousands of designs to choose from. What you need is the confidence to start stamping. And as you learn more, you will have to experiment on your own, and I am sure that you will nail it, pun intended. We bid you happy stamping!