Arts, crafts, and pieces of jewelry are just so mesmerizing to gaze at. Making them is not only worth your time, but it also trains your brain to become more creative and innovative. It also gives you a chance to bring your imagination into life. After rigorous planning and crafting, the fulfillment is hard to describe once you have completed a piece.
The fulfillment is even harder to describe as you give them as gifts to your loved ones. Wouldn’t it be nice if you can personalize these majestic pieces for them? How about stamping their name, nickname, or favorite quote on it?
Stamping letters on arts, crafts, and jewelry is easy and fun. It can even be another hobby for you. The possibilities are endless: you can stamp letters on metal, wood, paper, and even leather. This article will discuss everything that you need to prepare for stamping letters.
1. Prepare your materials for stamping letters
Similar to your arts, crafts, and jewelry-making hobby, investing in tools to get you started is required. The tools for stamping letters are a bit pricey, but a very good investment as it lasts for a long period. You can easily search for them in online stores, even in physical craft stores. These are the materials that you need to look for.
A. Stamping hammer
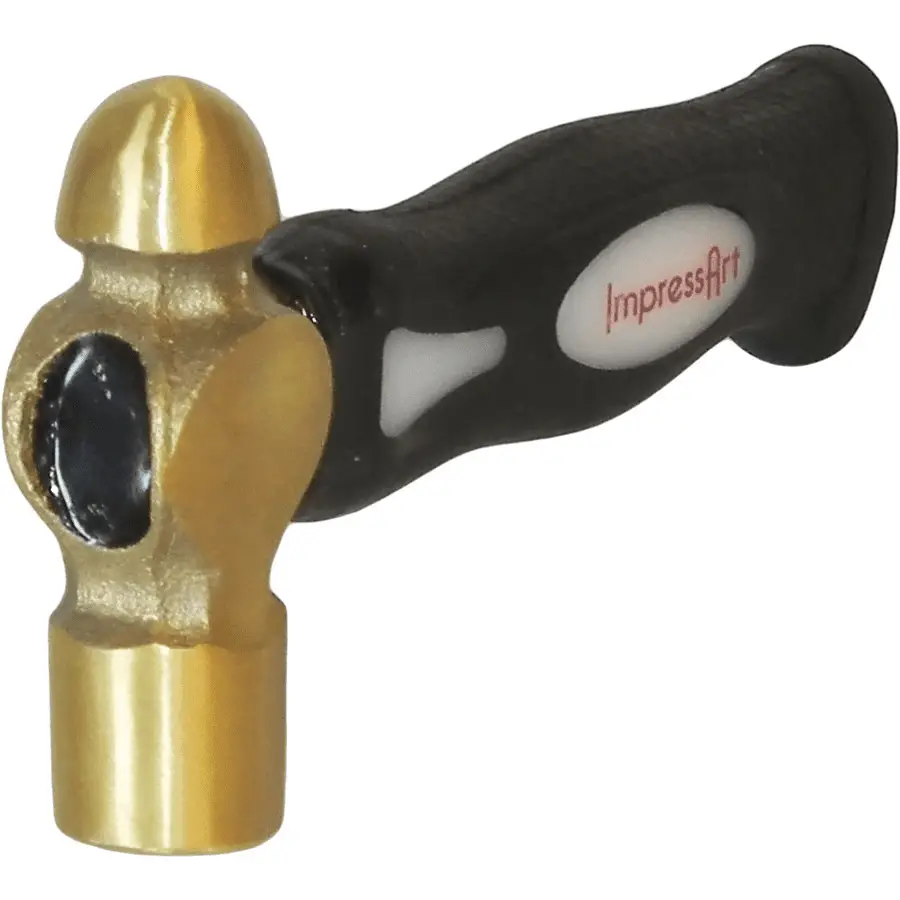
You may think of not buying this anymore as you might have seen your dad’s hammer in his tool kit. However, using an ordinary hammer for stamping letters cannot guarantee the best results. It is best to have a stamping hammer since it is the one designed to go with metal stamps. A stamping hammer is also tinier than the ordinary one. It will be easier to control your striking force with it, creating a more refined result. There is also a lesser chance of you striking your hand. You may leave your dad’s regular hammer alone for minor repairs around the house. These stamping hammers come in different textures too for different effects.
B. Metal stamps
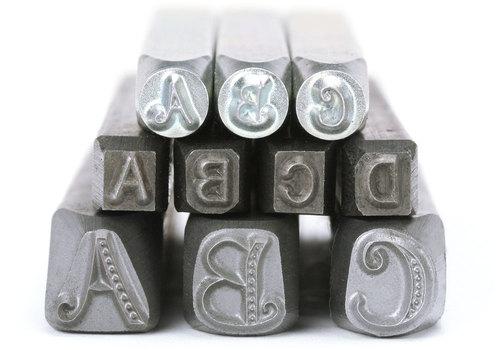
Metal stamps are the pieces of metal where the imprint will come from. You may get them in sets or separately. These are actually the priciest part of the stamping hobby. You need to have the main types of metal stamps: uppercase alphabets, lowercase alphabets, numbers, punctuation marks, and icons, shapes, and symbols. It doesn’t end there as these can come in different font types and sizes as well.
For starters, you can purchase the most basic one first which is the newsprint style. It is the same style as the one in typewriters. It might seem basic, but it is perfect for rustic themes. There are also plain stamps designed for creating spaces or dots. Getting heart, flower, and star metal stamps are highly recommended too if you are a beginner.
C. Stamping block
Stamping blocks are designed to absorb the impact of the stamping hammer. It also protects your table from accidental labelling. These are really heavy, but it is best to be safer. You can put a board under it to ensure all impacts will never reach your workstation.
D. Metal tags/blanks/paper/wood/leather
Of course, you need the items where you will be stamping letters and designs on. If you are still practising, it is best to start with flat metal tags made of copper and aluminium. They are also more affordable than other metals.
E. Stamping tape
While you may also use masking tape, it is best to have a stamping tape which is intended for stamping letters. It helps in holding your material in place as you smash the designs with the stamping hammer, especially for tinier materials which can no longer be held by hand. Stamping tape will save your hand from getting hit too.
F. Polishing cloth
A polishing cloth is used to tidy up your material prior stamping and after. This can be excluded from your purchase as you can also use an old shirt.
If you don’t have the time to look for these tools one by one, there are also available starter kits for beginners that you can purchase.
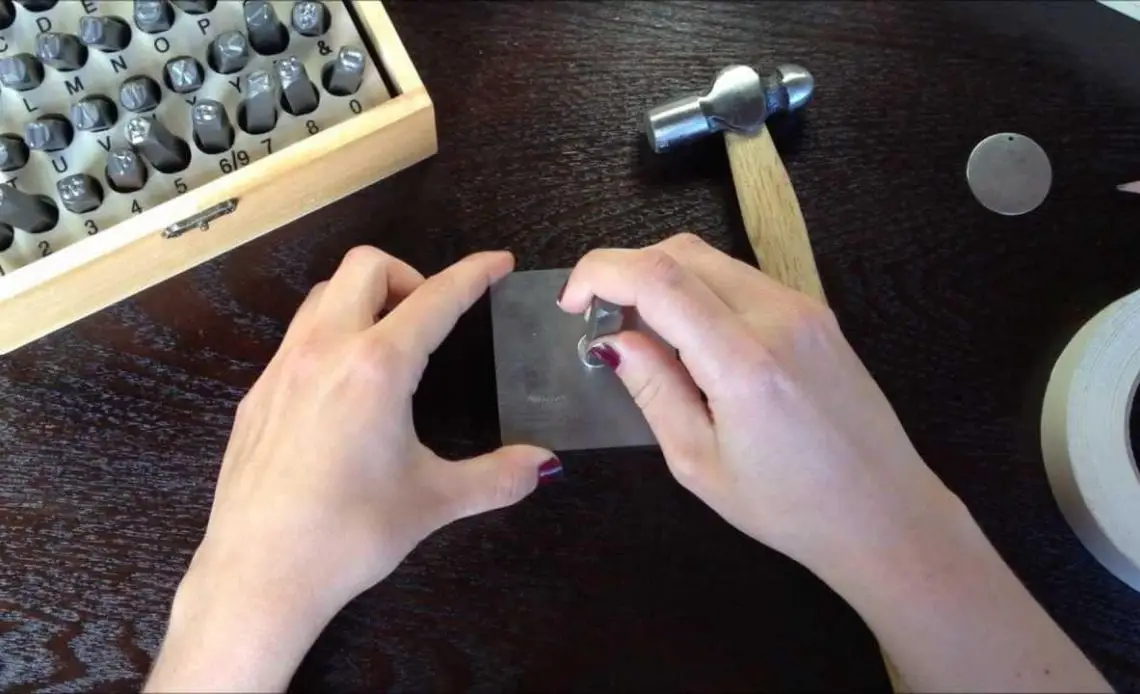
2. Preparation
You have to select a smooth and sturdy surface as your workstation. It should be able to survive the impact of your stamping hammer. Aside from the stamping block, you can put a board or wood underneath for extra protection.
Have a checklist of your tools and ensure everything is on the workstation before you start. Starting the stamping then suddenly realizing a missing tool will destroy your momentum.
Having all tools within reach helps in making the process smoother.
The stamping block should not be too close or too far so you won’t have any neck or backaches after.
Once you have adjusted it to a comfortable position, start securing your blank material with the stamping or masking tapes. A ruler and pencil will also help in ensuring that your design is neat and aligned unless you have misaligned it on purpose.
After preparing the tools, plan your stamping design accordingly. Envision it, draw it, and practice on some blank materials to see its feasibility.
3. Stamping tips
The most common mistake of beginners is holding the metal stamps the wrong way so the design looks like a mirror image instead. Check it first and put it in between your forefinger and thumb.
Before stamping letters, have some practice on other blank materials first. This will help you determine the pressure or impact needed. It will also help you in determining the placement of letters or design. Will it fit in the material? Will the captions be too long, too short, or just enough? Once everything is set, you may now start hitting the metal stamp with the stamping hammer.
If you want to create fonts with impact, you may use a marker with a fine tip to fill in the stamped area. You can also punch some holes on them, especially in the case of key chains and dog tags. The greatest stamping projects for starters are jewellery charms, name pendants for necklaces, name key chains, date tags as souvenirs for special occasions, or name tags for pets.
With the above fun and easy tips, you can now start your journey in stamping letters. Once you get the hang of it, you will discover more techniques and you can add more tools for more designs. Receiving a personalized gift symbolizes not only a thought but effort. Your loved ones will surely appreciate your finished products more, and you can turn it into a profitable business as well.