Are you interested in learning embroidery? Maybe you want to make handicrafts for your family members and friends. That is when embroidering is something you can do to stay relaxed.
The good thing is that you can be a professional or just a beginner in this craft. You may want to enhance your skill. With the right instructions and the right practice, you will become a pro in this sense.
As you begin with embroidery, you may choose for the three ways like an embroidery machine, a computerized sewing machine, and the use of the hand. The first one is used in design shops and factories. The computerized machine is also utilized by experienced and advanced embroiders. It will be good to begin with the hand in embroidery.
Provide for the Necessary Supplies
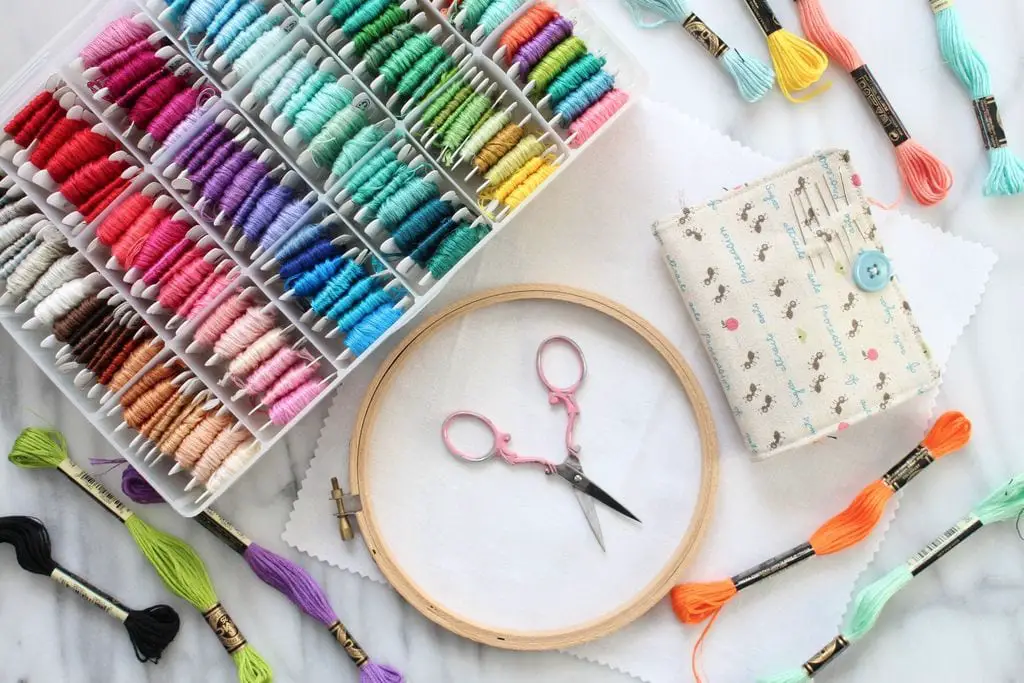
You will need to provide for the needed supplies. Firstly, include the embroidery hoop that is a set of 2 rings. The first one is slightly smaller as compared to the other. This is made up of both wood and plastic. The latter is lighter as compared to the wooden one. However, both of them are a favorite among embroiderers.
Secondly, you will need fabric in 100 percent cotton material. This is a solid fabric that does not expand or shrink on washing. Do not choose a stretchy fabric like linen or silk. This may bring out an issue even if you are already an expert.
Thirdly, you will need embroidery floss. This is made up of a silk material that is used for finer wool or embroidery. Wash the brightly-colored ones before use as they might bleed under the water.
Fourthly, the embroidery needles come in different sizes, too. Some of them have larger holes, while some have smaller holes. Keep the different sizes of needles and the shapes of the hole at hand.
Lastly, you will need a pair of scissors and a big pair of scissors for embroideries.
Learn Using an Embroidery Hoop
An embroidery hoop can come in different flavors. But, the plastic and circular wood ones are very much common. Now, cut fabric in a square form. It should be bigger than the hoop. Begin to loosen the screw on top of a hoop. Separate the hoops. Put the outer hoop to one side. Next, lay the fabric piece over the plain right inside the hoop. Push the hoop on top-down over the inside. Do this when the fabric is already over the hoop interior. This sandwiches the fabric in between them. Tighten the screw and start to pull the fabric taut. The floating of the fabric between the hoops will not give that much. This makes embroidering more complicated than ever.
Tighten the screw when the fabric is taut already. This way, the screw will feel secure much to you. It should not budge, so do not keep it tight.
Thread the Needle and Understand More About the Floss

Threading the needle can become less complicated. It is done the easiest by wetting the end of the floss. Squish it between your forefinger and your thumb. This flattens it out and enables it to pass through the needle eye.
Pull the thread through your eye. Allow several inches to hang loose. Know the opposite end, the usual. Do not leave half an inch right behind the knot. Or else, it might get tangled with the stitch.
Also, divide the floss to get detailed work. Make use of your fingernails when you separate the strands. Pull this apart slowly.
Do the Running Stitch
Do the running stitch by making the stitches shorter or longer. You may as well randomly place it varying the design. Also, do the usual downward or upward switch. Push the needle throughout. And then, make just several stitches all at once.
Do the Backstitch
To do backstitch, bring the needle through to the fabric front. Move the stitch to the right. Bring your needle back and to the front of the fabric. It should be a length following the right. Pass the needle up to the back with the hole. Then, it continues until the end of the first stitch. Make use of the hole right through the end of the right stitch. Bring the needle back and the front of the fabric. Repeat it until when you are done.
Do the Split Stitch
The split stitch is somehow decorative. This is used the same as the backstitch. This is done when you want things to come with a little texture. Now, pull the thread up. Create a small stitch. Come back and up the middle of the stitch. Take it down, continuing the fabric. It should remain a short distance away from the direction. Keep the stitches short like one-eighth of an inch to one-fourth of an inch. Or else, the stitches will look messy. You now have learned more about embroidery guide 101, which can be fun, to begin with!