Jewelry making is a tedious job. You need to spend hours sitting and making your designs. It needs your patience and creativity at the same time. That is why, as much as possible, when you are doing your craft, you need to be in your most comfortable position. The good things, there are a lot of jewelry making tools to cater to all your needs. They are specifically made to keep the job done easier and better.
One of the best jewelry making materials most jewelry makers use is the bead mat. A bead mat is a flat surface that helps make sure the beads stay in place and won’t fall off or roll down the floor. It will prevent you from crouching down and getting all the small beads together as they scattered on the floor.
This is a great help to keep everything in place. There are available types of bead mats in the market; you can make your type of bead mat or beading board. Learn how you can do it.
Beading boards, Bead Trays, and Bead Mats
Beading boards, bead tray, and bead mats can sometimes be very confusing. They are often used in most of the jewelry beading articles. Get to know the difference here.
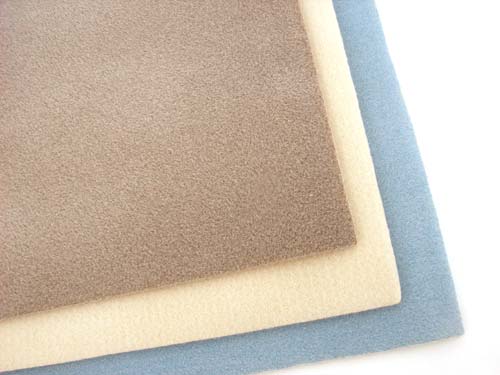
Bead mat is a flat surface made a specific type of cloth, soft foam, sticky rubber, and other materials. The primary use of bead mats is to keep the beads in place so they won’t roll around the working table.
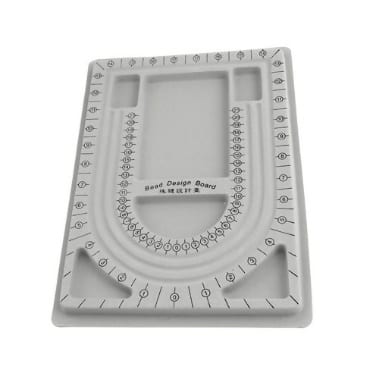
Bead boards and bead trays are sometimes confusing. For most of the articles online, bead trays are used to organize the beads in place to see how they will look like when finished. Some trays have different storage layouts. They mostly come in printed marks to know how to position the beads well.
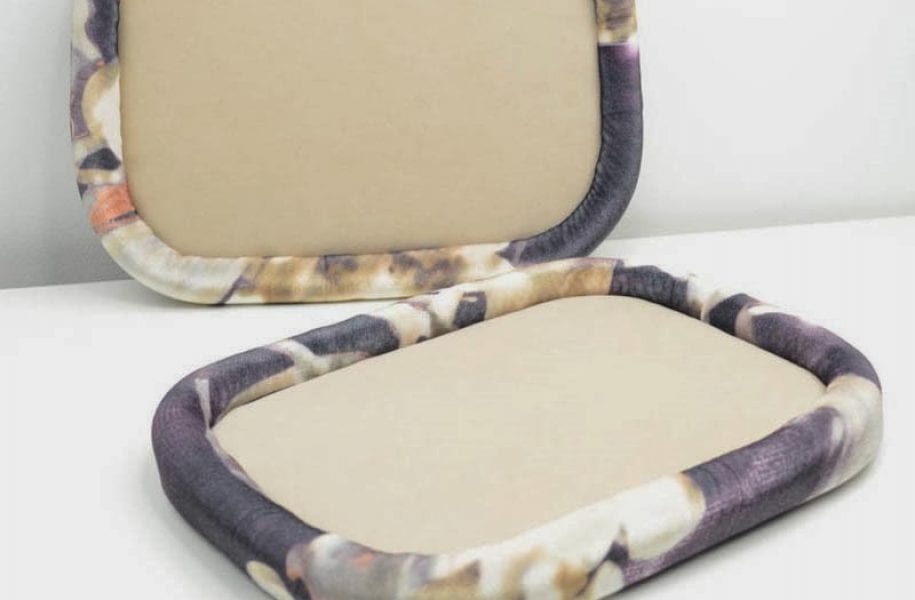
A beading board, on the other hand, is a handcrafted bead mat inside a wooden base or frame. It is easier to pick the beads once they are put on the side of the bead board. Thus, this makes it a small bead mat that you can pick and move around whenever you want to.
How to Make Your Own Beading Board
When making your beading board, you just need to use two main materials. These materials are available in the department store or any craft stores near you. To make your beading board, you will need a frame. It could be a picture frame or any frames with has great and thick corners, so the beads won’t fall off. Next, you will need bead mats. You will likewise need glue and scissors.
To start, get the glass or plastic off of the frame. You won’t be needing that anymore, so you can discard it or use it for something else. Then, get your bead mat. Put the frame on the bead mat and trace it.
Next, you need to extend the size of the frame to an inch. Cut the trace on the bead mat using the scissors or cutters. This way, the bead mat is bigger than your frame.
Place the bead mat into the back of the frame instead of the glass. Secure it well and place it in the center. You might need and extra force to seal it tightly in place. You can use a tape or glue to stick the bead mat into the frame.
Snap the frame back in place. Make adjustments, so the fame remains smooth and in the center. You can also trim the sides of the bead mat on the back to get a clean finish. Now, your beading board is done and ready!
To level up your simple frame to a fancy beading board, you can get creative and put artistic designs on each side. Instead of the boring frame color, you can make it lively. You can paste fabrics or stickers! Pick whatever you want and be inventive.
How to Use Your Beading Board
You can now use and put your beading board anywhere you want. The next time you will make jewelry, it would be easier to keep the beads in place. Using it is very easy. All you need to do it put the beads in places on the beading board. This is very helpful, especially when using very small beads. Put each kind of beads in one group.
Now, it is easier for you to get once from each group to create the type of jewelry you want. After using it, it is also easy to pick the beads back into their storing containers. You can make small beading boards or bigger ones depending on the frames you want to use. Your jewelry-making experience will never be the same again.
Conclusion
Though there are different beading boards available in the market, creating your own will help you save more. Aside from that, you will be able to personalize your jewelry making tools. Not only do you get creative in making jewelry but in making your jewelry tools as well.
There is no need to put extra money on jewelry tools if you can make one yourself. This is one of the advantages you can get in jewelry making. There are ideas you can improve to make the process easier. Though beading boards are not required, having one will greatly help you improve your relationship with your beads. Have fun beading with your beading board!
