<iframe width=”560″ height=”315″ src=”https://www.youtube.com/embed/3jFb3fKOPw4″ frameborder=”0″ allow=”accelerometer; autoplay; encrypted-media; gyroscope; picture-in-picture” allowfullscreen></iframe>
Beaded earrings have been around for so long. The craft of making beaded jewelry has a vast history that is incredibly interesting. It is part of rich cultural traditions popularized by multiple Native American societies and by many different cultures around the globe. These pieces of jewelry have been used in so many ways – for beauty, for trade, and several ancient artifacts have even depicted their use as a talisman.
Nowadays, making beaded pieces of jewelry is a stress-relieving craft that not only encourages creativity but can also be made into a profitable hobby. In this article, we will cover some techniques used for making beaded earrings. We will start with the simplest one, which you can use as a stepping stone to many other methods and beaded projects.
Things You Will Need
Beads, of course, are the first and foremost item you will need to have. There are many types of beads to choose from, including beads made out of glass, shells, porcelain, gemstones, metals, and even wood. Obtain a variety of different sizes and colors to ensure you can create a fun yet classic pair of earrings.
You’ll also need some headpins or craft wire of about 18 to 20-gauge. Next, find a quality pair of craft pliers, some earring hooks, jump rings, and beading needles. For more complicated patterns, like the diamond-shape or the peyote stitch, you will need to have some beading thread as well.
Things You Will Need to Do
Basic Dangle Beaded Earring
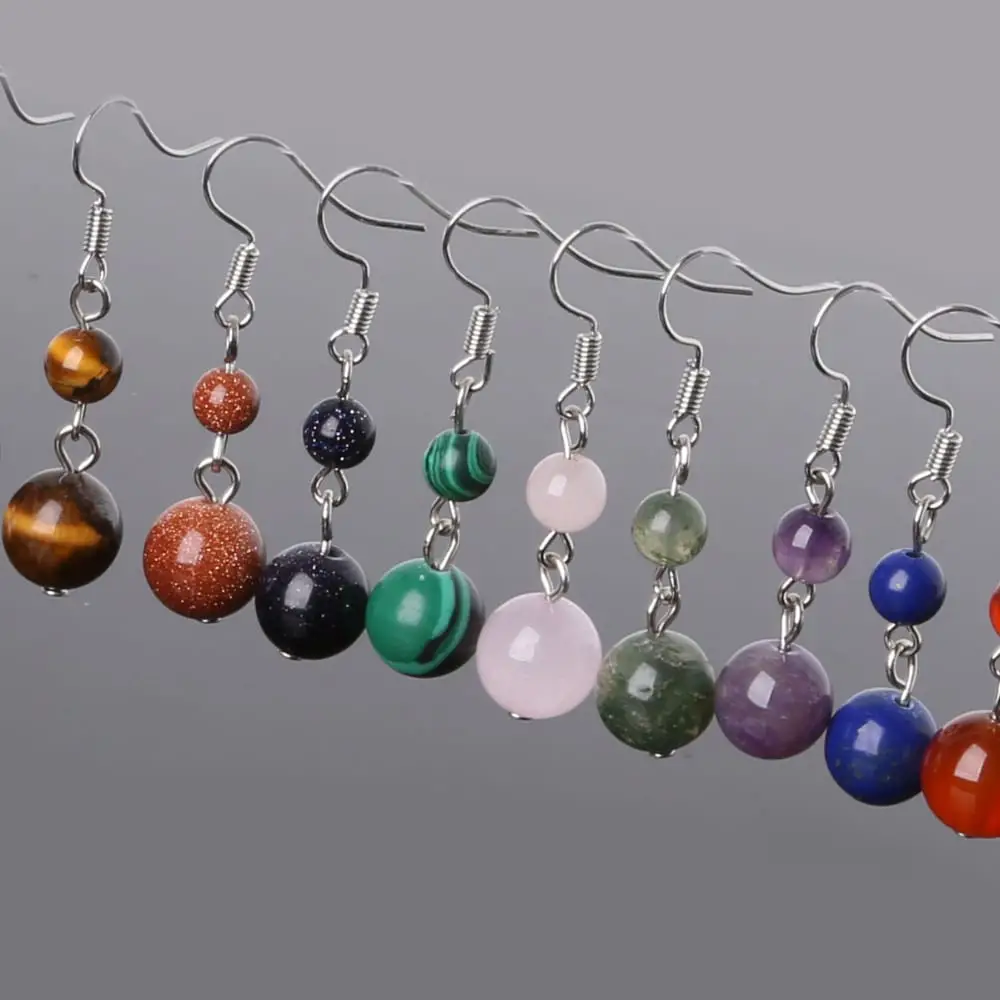
Step 1 – Prepare the wire. It is important to cut the wire to the appropriate length. Cutting it too short could mean having to start the entire process all over again. Cutting it a little longer is the safe route to take.
Step 2 – String in your beads into the wire and create a single loop on top to secure the beads in place. To complete your beaded dangle, all you have to do is add your jump ring and then your hook.
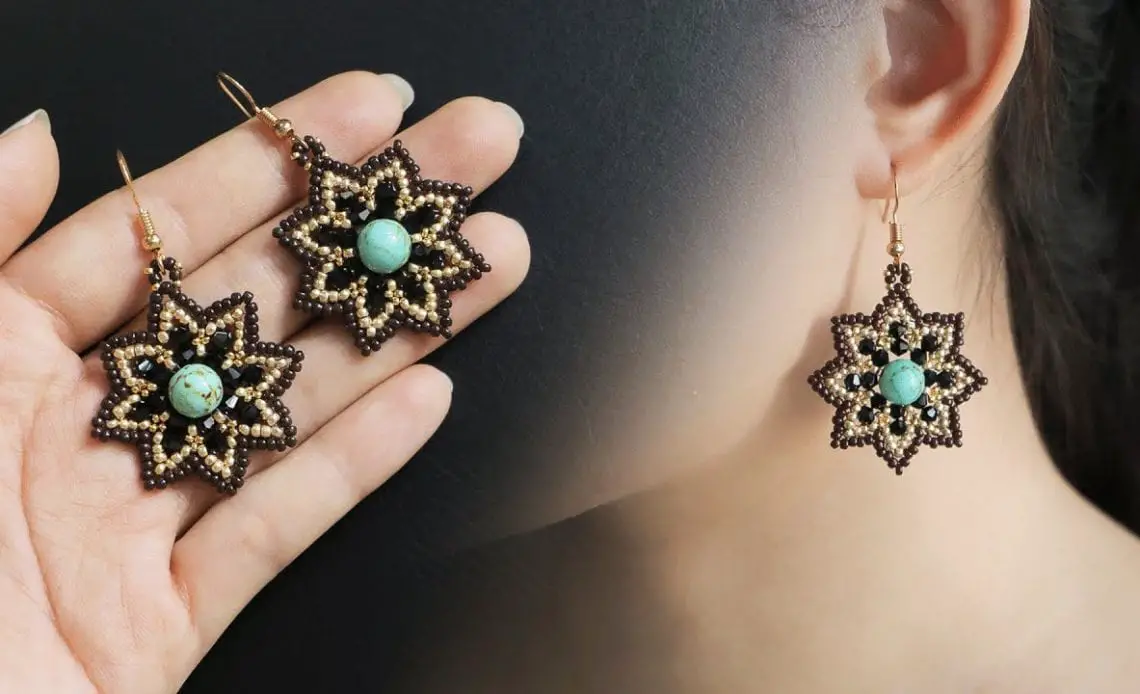
Peyote Stitch Beaded Earring
Step 1 – For the more intricate and sophisticated designs, like the peyote stitch, you will have first thread your beads on your beading thread. You will have to start with at least 25pcs of 15/0 seed beads, two pcs of 8/0 seed beads, and a large 4mm metal bead or bicone threaded together.
Step 2 – Once they are threaded in, take the thread back to form a ring while leaving a tail of beading thread that is long enough to weave in later. Exit through the first 15/0 seed bead and pull the thread tight.
Step 3 – Continue with the same pattern, adding one bead to the top of the pile, thread through the next bead, skip the next, add a new one, thread through the next, skip, add, and so on. Make sure to pull the beadwork tight after each addition.
Step 4 – Pick up a combination of 3pcs of 15/0 seed beads, an 11/0 seed beads, and another three pcs of 15/0 seed beads. Stitch all these through the 4 mm metal bead. Create a loop. Go around two to three more times to reinforce the loop. Remember to pull the beads snug after each addition. Fill in the gaps by embellishing the bottom edge with more 8/0 or 15/0 seed beads.
Step 5 – Create a couple of knots at the end of the thread. Attach the craft wire through at the topmost bead with a jump ring and secure the earring hooks in place.
Diamond-shaped Beaded Earring
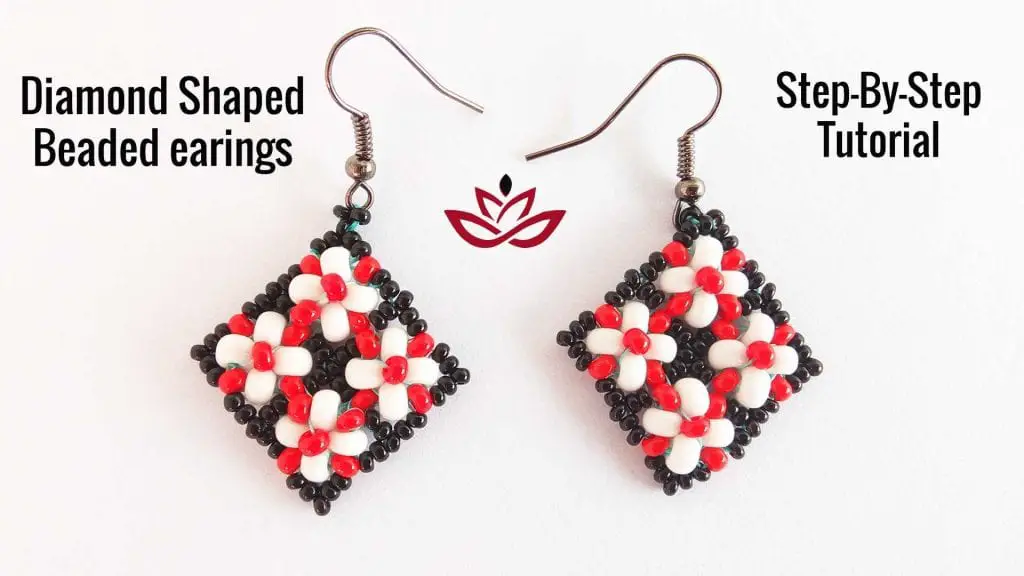
Step 1 – Thread an 8/0 seed bead with 3 pcs of 10/0 seed beads. Take the thread back to create a loop. Pull the thread to keep the beads tight together. Add a bugle head.
Step 2 – Repeat the same pattern twice. After the third bugle head, thread in an 8/0 seed bead, 2 pcs of 10/0 seed beads, another 8/0 seed bead, and last two pcs of 10/0 seed beads. Once done, bring the thread back to the first 8/0 seed bead before adding the next bugle bead.
Step 3 – Pull the design together to create a diamond shape by going through the first 8/0 seed bead on Step 1. Take another thread to take around the entire shape to create a smoother diamond-like shape.
Step 4 – Take one end of the thread and tie it with the other to create a couple of knots. Cut off any excess thread. Open and link a jump ring to the top 8/0 seed bead and loop in the hook in place. Beaded earrings have been in fashion for a long time. It is a great accessory for both casual and professional events. Creating these earrings as a DIY project is very easy and will only require a few simple tools. The three techniques that we have just covered are the most basic ones that you can use as a starting point for other designs.