
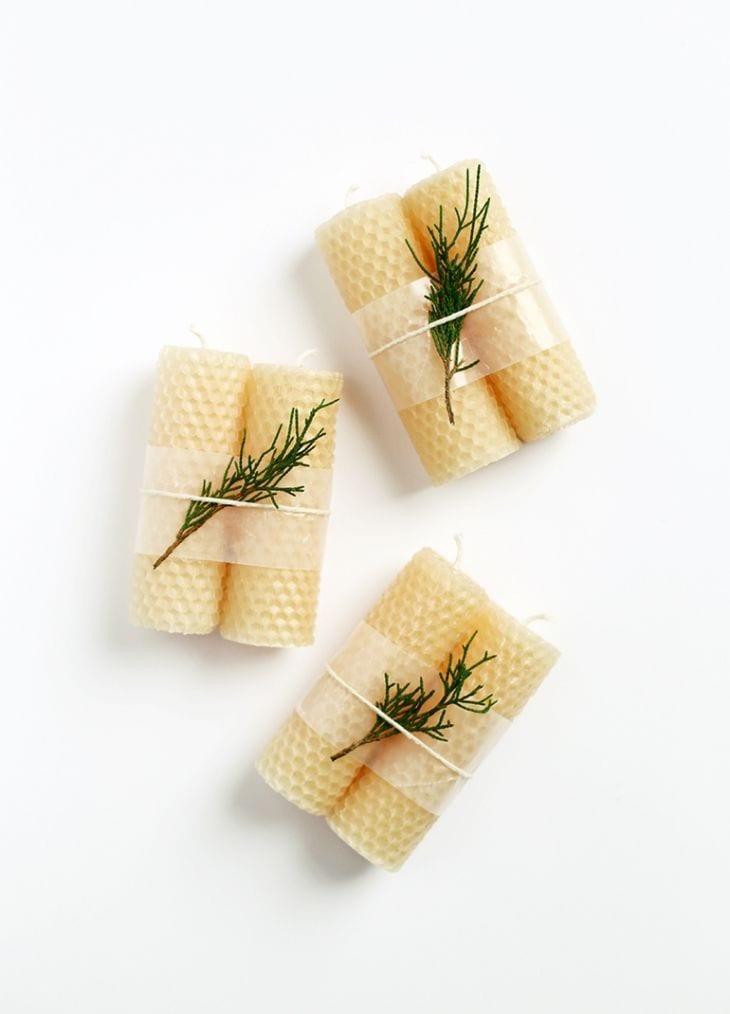
If you love candles and you are interested in crafts at the same time, making candles with beeswax may just be the next project for you! Learning how to do so will give you control over the use of ingredients, rather than simply getting one from a store. You can have them for personal use, give as gifts, or something to earn money from.
Advantages of Making Beeswax Candles
The soft glow of a candle will no doubt offer your home warmth and comfort. As such, why not enjoy the benefits offered by candlelight, while making sure that you also improve the quality of air in your room? This is possible, but not really achievable with a regular candle. The reason for this is that paraffin candles that can be bought from stores are usually made out of wax that are petroleum-based.
According to studies, rather than enhancing air quality, these candles release toxins to the air. At the same time, there are certain candles that use wicks that contain lead. When lead is released to the air, it can be deposited and absorbed in some areas in your home.
A Healthier Alternative
A natural beeswax candle is an ideal alternative to the usual store-bought candles. These candles purify the air naturally. The reason? A process that is referred to as negative ionization.
By nature, when burned, beeswax is a form of fuel that produces negative ions. With opposite charges attracting, the negative ions attach to particles that are positively charged in the air. This includes viruses, bacteria, and allergens such as pollen and dust. These particles form clumps, which tend to become heavier. With gravity to pull these clumps down, they can fall into the floor, allowing them to be vacuumed or swept.
Some may prefer soy was as an alternative, but they are still not comparable to beeswax. In fact, most soy is modified genetically, even contaminated greatly with pesticides. As such, if you opt for a healthier quality of candle, making your own beeswax candle is an amazing option that you can take into consideration.
Making Beeswax Candle
Ingredients
- Roughly chopped beeswax
- Organic palm oil (or other shortening options)
- Cotton wick (square braided)
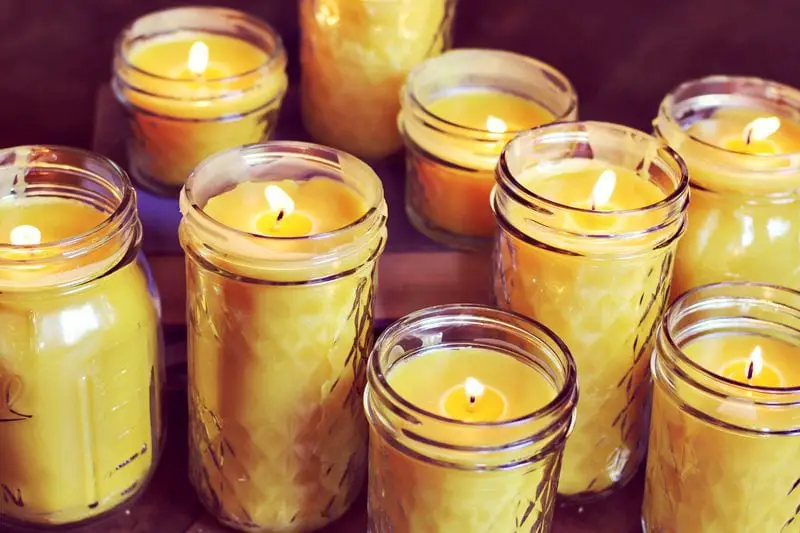
- Mason jars
- Kitchen scale
- Pencils or wooden skewers
- Glass container for melting ingredients
- Newspaper
Instructions
- Measure 12 ounces of beeswax using a kitchen scale, and place it in the glass container/measuring cup.
- Place the container inside a pan that is filled with about a few inches of water. Beeswax should be melted over medium heat. Avoid heating over high heat; otherwise, it may ignite.
- Prepare and cut wicks that are at least a few inches higher than the glass jars that you are using. This should be done as the beeswax melt. Dip one wick carefully into the wax. Carefully lay it on a newspaper sheet, holding an end using your fingers, and straighten it by holding the other side using a skewer. Afterwards, pull it gently. Do the same with the other wicks, and allow them to dry.
- Weigh palm oil using a kitchen scale (12 ounces) and set it aside. Add the palm oil to the beeswax that has almost melted, stirring as it continues to melt.
- When the mixture starts to melt, carefully stir using a skewer. Pour around half an inch of hot wax into a jar’s bottom, placing a wick immediately right in the middle just enough so that it touches its bottom. Gently hold the wick right in place until the wax continues to harden and for the wick to stand by itself. Allow it to harden completely, and repeat the same process with the other jars.
- Place a skewer on every jar, wrapping the wick gently around the skewer, making sure that it is straight enough. When they are already secured in place, you can then continue pouring the wax on each jar, with some headspace on top. Allow it to cool and completely harden.
- Cut the wicks, while leaving about ¼ to ½ inch in length.
Conclusion
These candles will no doubt make the best gift for your friends and loved ones. All you need to do is to screw some lids on your mason jars, add some ribbons and voila! They will be personalized and special. When it comes to working with beeswax, it is very important to note that they will harden the moment that they cool. With this, it is best to use tools that can handle beeswax on them without any problem of removing them later on. As a tip for cleaning up, wipe the glass container while it is still warm using a paper towel or fabric which can be thrown out later on. Remove the beeswax as much as possible before washing your tools and containers with warm, soapy water.