What is candle making at home?
There are just so many tiny gestures you could be doing to bring love to your daily life. Do you want to know some of the best ones? This was a sweet-smelling fire. In reality, evidence shows that some aromas have specific mood-boosting and tension-busting impact.
Indeed, there are several fantastic candles on retail shelves. But who’s not in love with a successful DIY venture? And fortunately, it is simple to produce homemade candles. Although the participation in candles seems to be much more usual among women than men in our present era, the manufacturing of candles is a somewhat manly mastery that echoes back hundreds of years. In the middle ages, the exchange of candle manufacturing was of significant value to the territories and towns.
Some tips and trivia that will make you more appreciate and love candle making at home:
The light was clearly a mandatory requirement, but also that light turned from wax or vegetable oil (animal fat) incense sticks. Corporations, apartments, religious orders, etc., all depended on Gordons, attempting to make it a somewhat highly profitable vocation for middle ages artisans. Currently, whereas candles are not a functional requirement, they may bring masculinity or a romantic atmosphere (obviously, it depends on what you’re looking for) to any place.
- The constant yet fading blaze on my monitor, including the fragrances of whiskey and powdered sugar, orange blossom, chutney, and more are indeed impressive. Lamps can also be really therapeutic and thought-intimidating.
- Transforms out DIY candles amounts only a few dollars each, fragrance and burn much like regular candles, and allows for a surprisingly straightforward project that won’t be taking you over than a few hours. Those who make outstanding modifications to your working space or barn, and even some excellent and cheap DIY gift items for your families and friends are worthy of investment.
- The method is easy and challenging at the same time. It’s simple to set up; it requires perhaps an hour or so to make a batch, raw materials are comparatively small, and cleaning is easy. Yet having the right outcome can be difficult at the very same period.
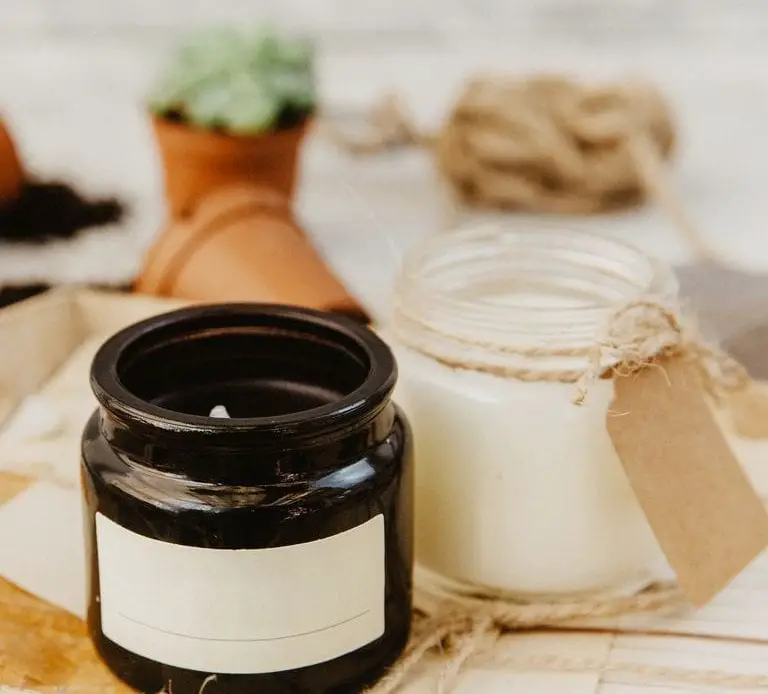
- Although there are a few specific sorts of candles you may produce, we ‘re starting to focus on jar candles. These will be the candles that you consider stored in pots or other vessels rather than just using free-standing oil. They are the easiest to construct because they do not involve adhesives or any other advanced materials.
- You just find an old cup or purchase some inexpensive plastic containers, and you’re done. It’s a perfect idea to replay starting over time, when you change your ratios, configure, and keep coming up with preferred combinations of scents. Take into account this both a comprehensive guide, and another one to go ahead and when you’re to go back to the fundamentals of the candle as an upper secondary manufacturer.
In order to start your candle making at home, you need to have these materials:
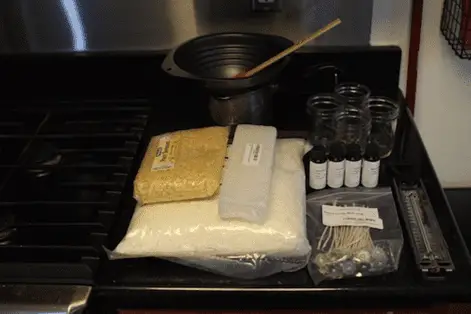
- Candle canisters (hot-proof jars, glassware, multipacks, etc.)
- Fully re-waxed, pre-tabbed tubes
- Soya wax beads
- Mega-glue or heated-glue
- Mixing pot, heat-proof centre fielder, a considerable glass bucket, or an antique casserole dish.
- Full bath, to be used as a dual burner
- Spoon for mixing
- Scale
- Masking or scotch tape
- Cloth towel
- Perfume oil or lavender oil
- Comparatively tiny canister, for aroma measuring
You can also incorporate these steps to make your candle making at home more enjoyable and successful:
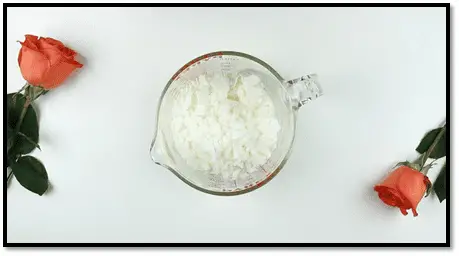
1. Measure the wax
- Prior to actually beginning the candle-making method, make sure everyone understands, smooth surface to operate on. You may also cover the region with wax or hand towels. Move everything that you would not want to get dye on. Start measuring how so much dye you will need cover your vessel, and double it. See how much wax you are going to really have to dissolve.
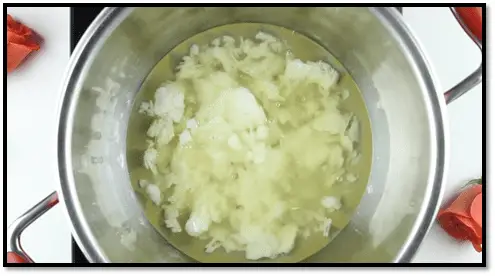
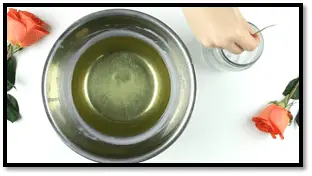
2. Melt the wax
Add the wax to your twofold heating system and let it dissolve for 10 to 15 minutes, whisking constantly. You would need to learn the density of your vessels to decide the quantity of wax to be used. To stop any annoying arithmetic, accomplishing this by loading the pot with water and then dumping it into a measurement cup requires effort.
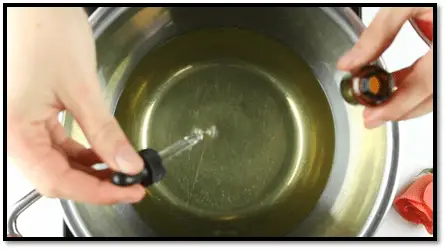
3. Add fragrance to the wax
It is indeed time to incorporate scent oils when the candle wax is melting. Ignore the directions about how many to apply to your wax kit. Just spill everything into your molten plastic and mix for a couple of seconds. Although this phase is voluntary, it is highly recommendable for a delicate floral aroma.
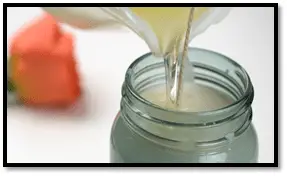
4. Pour the wax then attach and secure the wick
– Because when you spill the wax in your vessel, let it warm for several minutes. Once the heat on the heating element is 140 celsius, it is time to spill. After this, gently add the wax in your glass. Hold the wick in place, but don’t pull it. Keep a small quantity of wax throughout the heater until your candle is topped later. In order to keep your coil from shifting in the molten wax, you ought to lock it in position. Place two utensils at the top of the pot. Compact the wick in between two so that it remains oriented and focused while the wax stiffens. Enable the wax to be held to normal temperatures for 4 hours.
Last things you need to evaluate and significantly consider about candle making at home:
Maintenance is simple as soon as you get to it when the wax is already hot. Only using the hand towels to carefully clean the residual wax out of the mixing stick, thermometer, and even in the inside of the boiling container before cleaning it regularly. One thing you ought to be mindful of when consuming ingredients is to adjust the burn cycles to the size of the candle. Just so many quick burns in a row will contribute to “burrowing,” under which the wax was melting only in the middle of the candle and not all the through to the sides. The whole first time you light a fresh candle, keep it burned long enough because the entire surface of the candle is fire, and usually stop smoking big candles very frequently for a temporary duration.
