
If you are looking for any sign, this is the one for you. Start your jewelry beading journey now! It’s reasonably enjoyable and simple. You don’t have to fret about it! Contrary to what you may think, beading jewelry is easy given that you have the right tools, the materials, and the enthusiasm to learn and start.
Before starting, you need to understand what you need to do and accomplish. Make a goal and see what you can do to achieve it. If you want to make your bracelets, then here are the beading bracelets guides you must follow.
First, there are things you need to take into consideration. Make sure you got them all checked and reviewed. Next, learn the different ways on how to make beading bracelets and get a fun experience. That is all you need to know about your beading bracelets guides. Let’s get the fun started!
Before Starting Beading Bracelets
Before you get too excited to start beading bracelets, read the following guidelines to keep the process easier, and to avoid fewer mistakes. These helping guides will help you choose better materials and helping tools you can invest in.
Beads
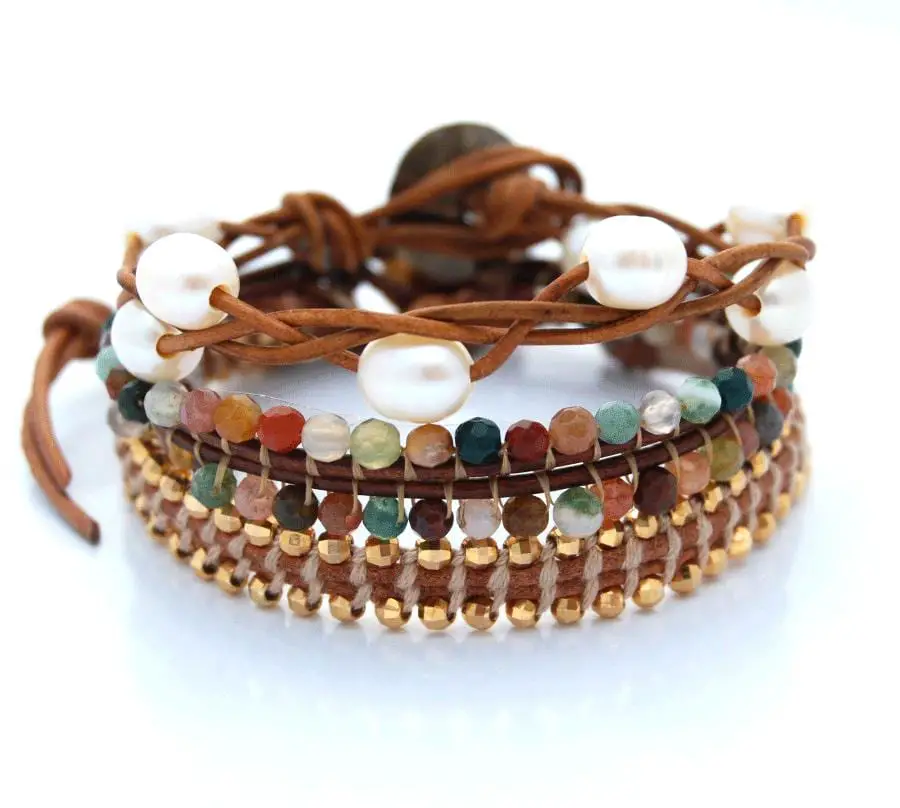
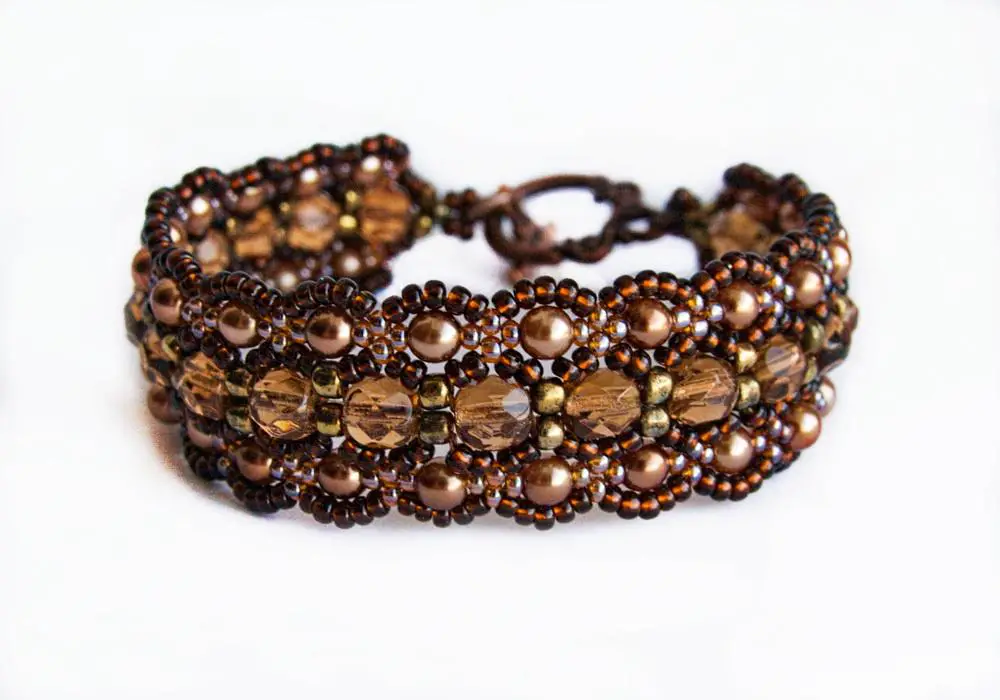
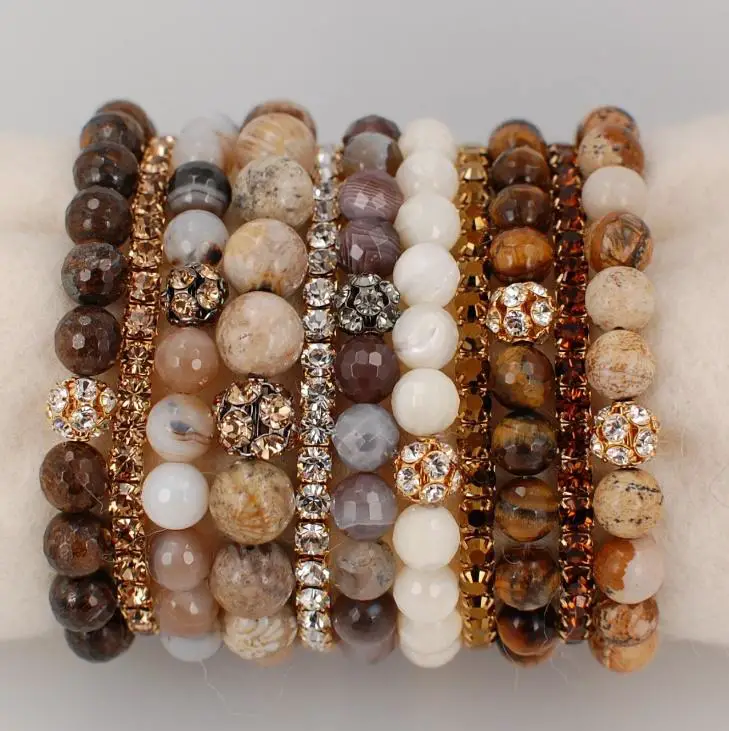
There are different types of beading bracelets you can choose from. To pick the right one, think of the design and the type of bracelet you want to make. Is it an everyday bracelet or a special occasion bracelet? Knowing its purpose will help you choose the best look and type.
Plastic beads are inexpensive beads. They are available in different shapes and colors. They could be a great choice for your kids or fun designs. There is also a glass bead that is transparent and sometimes comes in different colors. It has a higher price compared to plastic beads. There are also fancier beads made of gold, silver, and stones. Make sure to check your different options.
Wire
Beads and wires come together, so it is extremely important to make sure they are compatible. Some kinds of beads work well with a specific type of wire. So, make sure to research more about the type of wire and beading bracelets you choose. Usually, small beads work well with thinner wires.
There are also wires and strings you can choose. Make sure you use the jewelry wires and not the wrapping wires or the usual wires since they are stiffer and not best for beading.
Designs
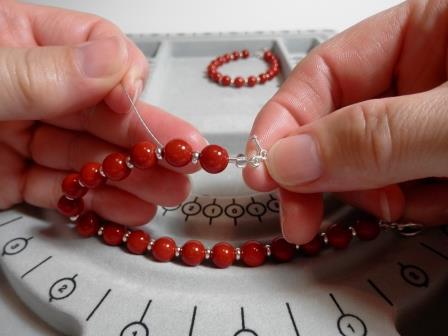
Plan the design of your jewelry first before stringing the beads together. You can lay them on the table to see how they would look together. You can work first on your centerpiece and work your way on each side or whatever works you well. One trick to easily design jewelry is got invest in a bead tray. This is available on any craft store or online. The bead tray has measurements and bead counts, so you will have a clearer view of the outcome of your design.
How to Make Beading Bracelets
Before you start, gather and prepare all the materials, you need. Put them within reach and on your table so you won’t have to constantly get up and look for your supplies. Check and make sure all of them are in good shape. Now, you can start beading bracelets.
Make Stretch Beading Bracelets
This is the simplest way for beading bracelets. It is easy and effortless to do. You can make simple ones to fancier stones, depending on the kinds of beads you prefer. To start, prepare the following materials:
- An elastic string for beading
- Beads of your choice
- Scissors
- Glue
- Tape
First, to know how big or small your bracelet needs to be, measure your wrist, or the one you plan to give it to. You can use the elastic string to measure around the wrist. Once you do, leave enough length for the knot in the end. Cut using your scissors.
To prepare the elastic string, hold it between the end and gently stretch the string. Do it a couple of times. Get a tape and fold the tape on one end of the string. This is to stop the beads from sliding off the string.
Now, for the fun part, start putting the beads into the string. Follow the designs you laid on the table. Make sure the beads are closed to each other to avoid any gaps once you wear the bracelet. Wrap the string around your wrist to check.
Once you are done, take the tape off and tie the ends together. Make sure to tie it securely. You can clip off the ends. Get some glue and put a little on the know to secure it firmly. Let it dry. Now, you have a stretchy beading bracelet for every occasion.
Make Clasp and Lock Beading Bracelets
The next type of beading bracelet is the clasp and lock bracelet. This includes a clasp and lock for easier wear. Most of the jewelry available also offers this feature. This is very convenient and easy to pull off. Here are the things you need:
- Beading Wire
- Beads
- Crimp Beads
- Clasp and Hook
- Wire Cutters
- Pliers or Crimping tool
First, measure the size of the wrist. You can get a measuring tape. Add five inches or above from the wrist size to give spaces for bulky beads and the locks. You likewise wouldn’t want a very tight bracelet.
Next, prepare your beading wire. Cut it using the wire cutters and add the extra length. Make sure the wire is fit and right for your beads. You can likewise put tape on one end so the beads will not fall off.
Using your bead tray, you can start by laying your design on it. This way, it is easier for you to picture out the design. This will also help you prepare the number of beads you will need for the bracelet. However, if you are doing a simple design made of two kinds of beads, then the bead tray is not necessary.
Once the wire is ready, start placing the beads. After putting the last bead, finish it off by putting a crimp bead after. This is to help the beads stay in place. Then install one part of the clasp or lock. There are also different clasp and lock designs you can use. The most common ones are the lobster locks. Thread the wire back into the crimp bead and make a loop for a clean finish.
Use the crimping tool or pliers to crimp the crimp beads tightly. This will serve as the knot for the ends. Do the identical method on the other end. Insert a crimp bead, next is the second clasp or lock, then thread the wire back into the crimp bead, lastly, crimp the crimp bead, and your bracelet is good to go. Try it on and make adjustments when needed. Cut any excess wires to finish the look.
Conclusion
Making beading bracelets is easier with the right tools and the correct instructions. Eventually, it will come naturally on you, and you wouldn’t have to look for any instructions. At first, it may look difficult and tiresome, but you will get it right on your second or third try. Just keep practicing!
Follow all the instructions or make revisions on your own. Check your tools and materials. They are very important! You will have countless of wonderful beading bracelets in no time. You can give them as gifts or sell them online. You can earn and manage your own jewelry business! Get the hustle started now!