Having made anything that your family uses for the body is as greatly important as the food you serve them with. Making your own soap and other body essentials ensure the safety and quality of what your beloveds use. Thus, learning about soap making lye is vital, too.
What is a Lye Soap
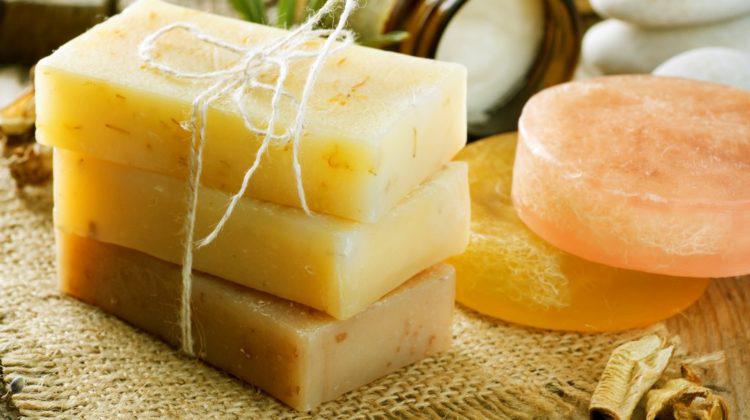
Lye is actually a natural ingredient of all soap products you’ve been using for many years now. Basically, all soaps are thus lye soaps because they all have the chemical and all undergo the same process.
Bar soaps cannot do without lye as the chemical reaction between it, and vegetable oils are what leads to its creation. Such a process melts away the fats, and so lye becomes neutralized.
The process is called ‘saponification,’ which can be performed with either hot or cold process, resulting in just the same output. However, studies show that the hot process is quicker.
Note: Using lye in making soaps for personal and commercial purposes must be done with high caution due to its tendency to be corrosive. If possible, add more vegetable oil to your mixture with only a small amount of lye. Otherwise, you can also let the product be cured for 4 to 6 weeks to fully develop the soap’s best potentials as moisturizing and cleansing.
How to Make Homemade Lye Soap
Since the rise of this new natural form of soap, knowledge on how to create one at home for personal use has been a widely-searched topic. This article is thus entitled “Lye Soap: How to Make Guide” for such purpose, and it will help you understand more about soap making lye.
Follow the simple steps below for a successful homemade lye soap of your own.
Steps on how to make Lye Soap
- Most important of all is to prepare the tools needed for the making of your lye soap. Those tools you will need are:
- Stainless steel pot only and not aluminum or any other types
- Stainless steel spoon
- Plastic spatula
- Zip close bag
- Hand mixer with a stick blender that helps to come to trace faster
- Container for the lye water such as a plastic container
- Mold to pour soap in
- Bowls for measuring the oils to be used
- Towels for keeping and incubating the mold
- Wax paper for lining the mold if needed
- Thermometer which can be any brand such as a cheap candy thermometer
- Digital scale that can measure weight in tenths place of ounces
- Prepare also the three essential oil ingredients needed for the product, which are the fats and oil, lye crystals, and water, as well as the essential oils and other ingredients.
- Fats and oils are placed in a pot. These are preferred more over other oils for the soy contents that others have.
- Lye crystals and water are to be combined into one in a separate dish to produce the lye water.
- Other essential oils and ingredients shall be the last touch to be added, for the smell, color, and texture. Mix it also with honey and salt for more tastiness.
- Weigh and melt the fats and oils in a large pot. This will add unique qualities to your soap like coconut oil that causes the product to be lather. Castor oil, on the other hand, works best for making soaps produce bubbles. Ingredients are not to be measured, instead of weighed, which should be precise, too. A rubber spatula must be used to scrape and evenly blend the little particles in the large stainless steel pot.
- Mix the lye and water. Make sure not to buy liquid concoctions but only the pure crystals for the purest quality, too. In order to do the search for lye products, the real name of it is sodium hydroxide, which is the name found in the local lye stores.
This substance is derived from the ash of some specialized firewood ashes that react to water. Lye is a very special gas that creates an invisible heat and gas. Fire the lye water under 200 degrees Fahrenheit, which must be depending on the water temperature. No more fumes can be found in the lye once it gets dissolved.
Next, bring it inside. Be careful about bringing the dissolved material inside so as not to get into your skin, avoiding its itchy and burning effects it can bring if you don’t notice it sooner to wash it off.
Use only stainless steel, plastic, or glass materials for stirring the product and not with aluminum and iron for those materials are easily melted by hot lye.
- Check the temperature at all times to see if the chemical reaction that will occur is just right for the soap-making process. Temperature is very important, letting the lye molecules and the fat molecules blast into each other open and eventually turn into soap.
Heat up the fats at 100 degrees Fahrenheit to let all the other big and hard fats melt away into smooth oil. After heating, let the product cool down faster with a few different steps. This may be through giving the product a cold water bath under some running cold water in the sink.
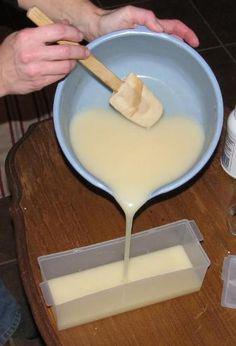
- Trace the soap’s shape into the mold. Keep stirring until you see the “trace” that it leaves on the top of the mixture that eventually becomes creamy in color and thicker, too.
Using your big spoon, you may drizzle a little on top of the mixture and see if it sinks in. If it does so, then it means that it is not yet ready.
Once it becomes pudding-like and becomes thicker with a full trace, then pouring it immediately is the next thing you should mind about.
- Last-minute additives often are still vital in the creation of some products such as this one. After combining the lye water and the fats, the next thing you’ll want to do is mix it with the scent you like and what you believe would please others when smelled from your clothes or body.
Essentials oils are what most people prefer, but this may still vary from one person to the other. Some recipes may tell you exactly how much should be added while some leave it to you based on how potent you want the smell to be.
- Pour the mixture into a container that can be its reservoir while the soap sets in. Some of the possible ones that you can use maybe:
- Plastic containers
- Cardboard box
- Glass container
- PVC Pipe
- Pringles cans
- Small wooden or silicone molds
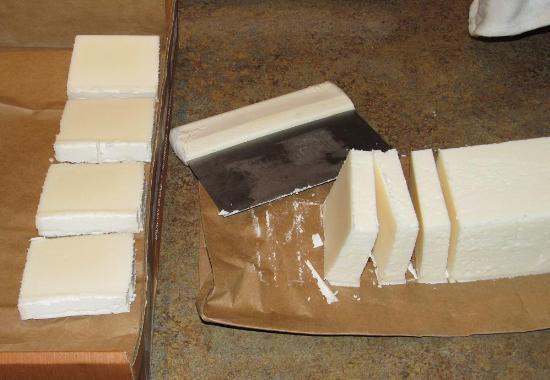
Line up the mold using wax paper and pour out some soap mixture into it. Jiggle it a little and make sure everything is evenly settled. Cover the mixture with towels so the heat can be contained for the 24 hours that it shall be left to form. Let it incubated for 24 to 48 hours and once perfectly set in, take out the soap from the mold, and cut it.
- Curing is important after all the processes performed earlier. It helps to lessen lye’s strong effects on the skin that causes burning. Lye soap must be left to dry out for 4 to 6 weeks so you can be sure that it has finished converting all oil molecules and soap molecules.
- Store your lye soap somewhere cool and dry so it will not accumulate moisture that causes molds later on. The best way is to keep them in a plastic storage bin. A bit of ventilation also helps while the soap continues to cure.
Final Thoughts
By making soap making lye or your own soap at home, you are able to monitor the products that you and your loved ones use. You do not really have to worry anymore about whether it will cause them allergies or anything else. By simply following the guide above, you are on your way to making your own home soaps.
