One of the most favored hobbies at this time of the year is knitting. Especially when you’re really fond of chunky clothing and accessories, this hobby can be really put to good use. Reaching this post means you’re really interested to try and it’s not a bad thing to try. It’s definitely one way of making your time worthy by unleashing your inner creativity. Besides, knitting is not only for the elderly. People of all ages are more than welcome to try this very intricate hobby.
Knowing how to knit is not rocket science and let it not be the reason to stop you from doing it. The pacing of knowing how to is actual gradual, which makes it perfect even though you have zero knowledge on how to do knitting. We will provide enlightenment on the basic tools that you need for knitting, patterns, and ways on how you can practice it. With these tips, you’ll surely enjoy the art of knitting without feeling bored.
What are the Tools Needed for Knitting?
The first step to studying how to knit is knowing the tools that are required to do so. If you want it to be a long-term hobby, it would be best to invest in high-quality tools. Now, what are the things that you need in order to perform knitting? Here is a list of the most important tools every beginner should have.
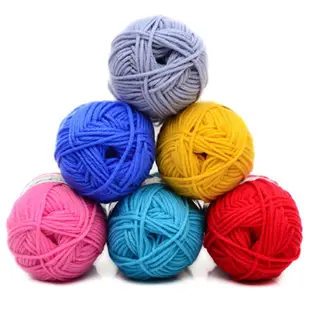
1. Yarn
For beginners, the recommended yarn type is the chunky or the thick ones because they are easier to get a grip of, especially when using thick needles. You can use the heavy or medium weight yarns such as the ones on the image below. Moreover, they are easier to disassemble if ever you did a pattern wrong
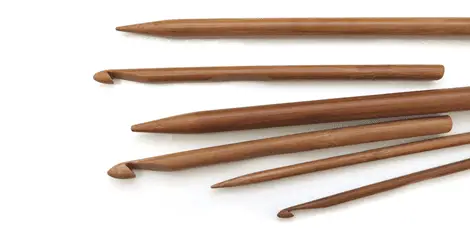
2. Needles
For beginners, the recommended type of needle is wooden or bamboo ones. The good thing about them is that they have a naturally polished surface that has the ability to take a hold of the grip of the yarn. It makes it less slippery which is an inconvenience if you’re just starting your knitting hobby. Aluminum and plastic needles are okay too but if you have sweaty palms and fingers, it can be a problem.
What are the Basic Patterns?
Now that you have known the tools and materials needed, you have to know and study the basic patterns of knitting. It’s actually something that you will eventually master considering that the process is repetitive. Each pattern has a video that will help you follow the steps.
1. Single Cast-On
Step 1:
Make a SLIPKNOT.
Step 2:
Put the knitting needle on your right hand.
Step 3:
Slide the slipknot into the knitting needle and pull it gently to tighten the grip of the slipknot on your needle.
Step 4:
Place the ball of knitting yarn on your left hand and slip the strand around your thumb while you hold it in place. You can arch your thumb a little to secure the yarn.
Step 5:
Move the knitting needle to the right part of your left thumb and slip the needle below the yarn on your palm.
Step 6:
Allow the yarn to slip off the arch of your thumb and pull it gently to let it tighten to a new stitch.
2. Knit Stitch
Step 1:
Using the yarn at the back of your work, insert the needle on your right hand from the front towards the back into the first stitch of the needle on your left hand. If your right-hand needle comes before your left-hand needle, it means you’re doing it right.
Step 2:
Wrap the yarn under and around the needle on your right hand in order to form a loop.
Step 3:
The next step is to put the loop in front of the work by pulling the loop through the stitch.
Step 4:
The fourth step is to slip the old knit over and off the left-hand needle tip which leaves it on the right-hand needle.
3. Cast Off
Step 1:
Start the cast-off by knitting two stitches.
Step 2:
Insert the needle into the first stitch.
Step 3:
Pull the first stitch and insert it on the second one.
Step 4:
Continue the steps by repeating step one to step three until there is one remaining stitch.
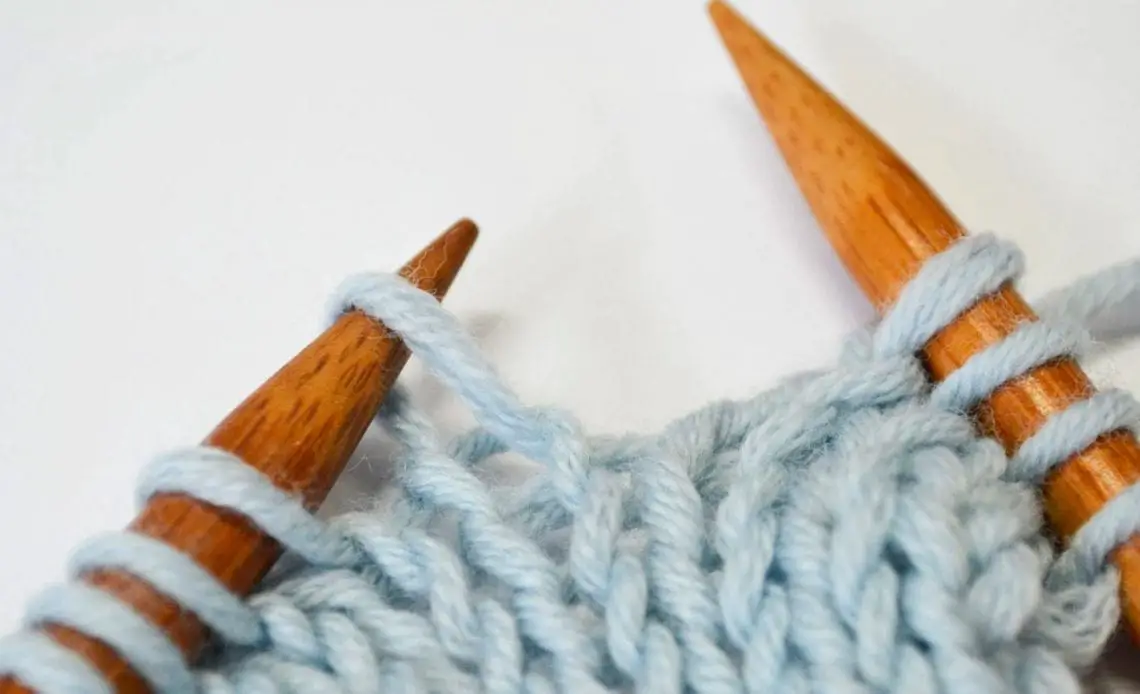
4. Purl Stitch
Step 1:
Hold the needle with the stitches on your left hand and leave your right just for the needle alone.
Step 2:
Insert the right-hand needle from the back towards the front of the first stitch.
Step 3:
The right-hand needle should be resting on the left-hand needle.
Step 4:
With the yarn in front, wrap it around the right part of the right-hand needle in a counter-clockwise direction and finish up with the yarn in front of the needles.
Step 5:
The fifth step requires you to slide the right-hand needle downward and bring the point from the front to the back of the stitch and bring the yarn along with it.
Step 6:
Insert the previous stitch on the left-hand needle. The new stitch should be in front of your right-hand needle.
5. Cable Cast-On
Step 1:
Start the cable cast-on by creating a slipknot.
Step 2:
While working on the loop of the knot, create the first stitch, and transfer it on the left-hand needle.
Step 3:
Now that you have two stitches, insert the right-hand needle in between the first two.
Step 4:
Knit a new stitch and transfer it to the left-hand needle.
Conclusion
Knitting is enjoyable when you know what you’re doing. Besides just the art of making crafts, it’s actually something that can be done worth the while. Whether if you’re just feeling bored or you knit out of stress, you can produce hand-crafted products that you can wear or you can gift your friends and family. More than that, most people prefer to run a business with hand-crafted products such as a knitted hat, scarf, mittens, coat, and sweater to heat you up during the winter season.