As beautiful as they look, printmaking is a beautiful and soothing hobby for many. It is the art of printing in which a design is transferred from one medium to another, mostly paper. The art style originated in Japan during the eighth century when the Buddhist monks used the printmaking technique to rewrite Buddhist manuscripts.
As the techniques have evolved, modern artists use different methods of printmaking. The four commonly used contemporary printmaking techniques are: relief, intaglio, planographic, and stencil. Currently, artists now print by combining more than one printmaking techniques. Here are some contemporary printmaking ideas you can try at home with your family or yourself.
1.Ink Printmaking using Cotton:
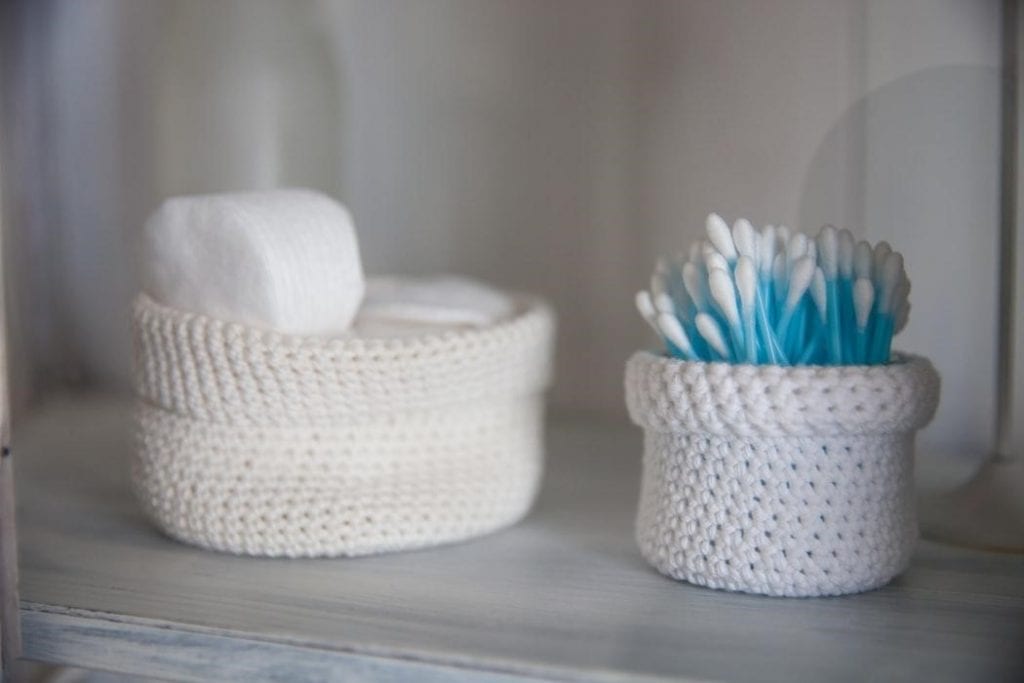
Ever imagined that cotton swabs and balls could be used to make beautiful printmaking to decorate your wall? The small cotton earbuds and balls used for makeup removal can be apparatuses for some quirky yet beautiful paintings. All you will need is to take colored ink, some cotton buds or balls, and a sheet of paper.
Take the ink out on a flat surface like a palette or a plate. You may or may not add water, depending on your ink’s fluidity and needs. Dab the cotton buds’ tips in the ink of your favorite colors and apply the colored ink on the sheet by making dots. The ink may spill if the paint is too watery, so the ink and the paper sheet has to be taken care of.
2.Dry leaves and twigs stencil:
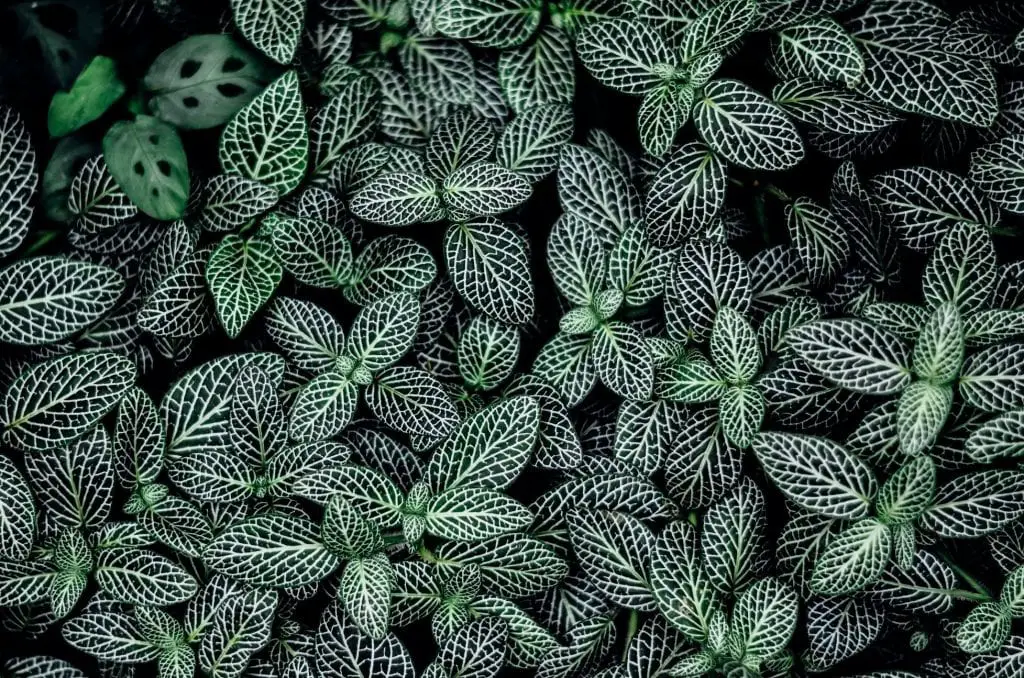
Leaves and twigs are autumn-y to look at. When you decorate your room with autumn prints, they add on to the cozy vibe to your space. Drawing leaves and twigs by hand can be difficult for many; you can take dry leaves and twigs from your garden and some ink paint to printmaking beautiful patterns.
Pick leaves and fallen twigs from the ground and collect them of different sizes and shapes. Remember, the more the variety, the beautiful will your printmaking look. Dry them by placing them inside a book or between stacks of paper. After a few days, take them out and clean them softly with a soft-bristled brush or a paintbrush. Place them on a sheet of paper and arrange to form a beautiful but relaxed design. Paint the whole sheet of paper, along with the leaves and dry them for some time. You can use any dark color that can create a contrasting look with the printmaking paper. Take another paper and place it on the painted paper to make the print. The paint, along with the design will be transferred to the new sheet of paper.
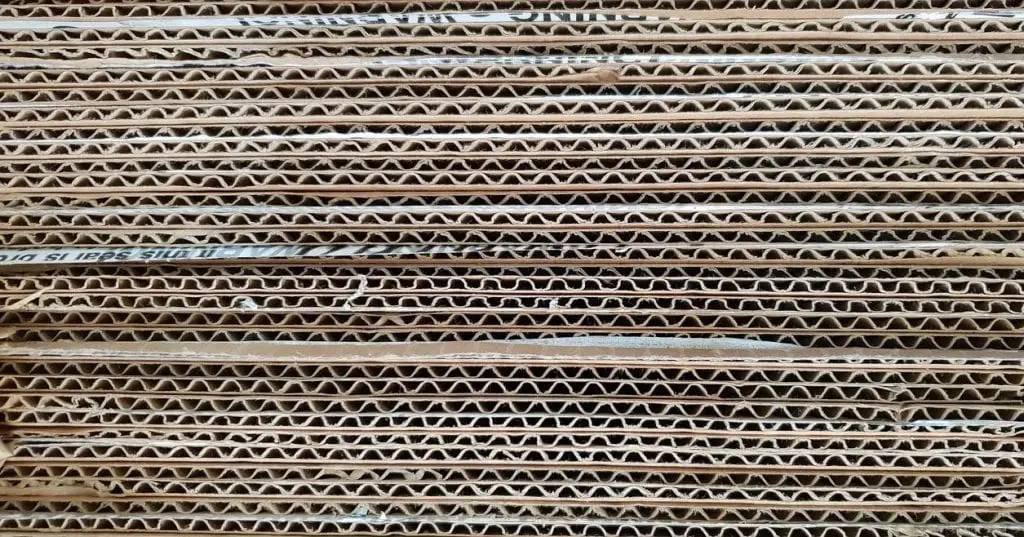
3.Cardboard Printmaking:
(Adult supervision needed.)
We are sure your storehouse would be stacking many cardboard from couriers packages. But, the boxes are great for stencilling and printmaking. The zigzag-shaped paper inside the hard boards will help you create beautiful artworks through printmaking. If you don’t believe, the following idea of printmaking will help you understand the technique of creating masterpieces with cardboard pieces and ink.
Take a cardboard and draw the artwork you desire to print. Using a safe paper cutter, cut through the cardboard lines on your artwork to reveal the inner material shaped like waves. You should not cut beyond the outlines of your artwork. Now, apply ink paint on your cardboard. Before the ink dries, take a sheet of paper and place it on your cardboard stencil and press slowly to transfer the paint onto the board. Your artwork is now on the paper and ready to decorate your room.
4.Printmaking with Foam Sheets:
Who had thought that foam sheets would be great for printmaking? They come along with several goods and are never used in households. Foam sheets are easy to cut and give a shape. They are easily available at craft shops, and this activity will be a great experiment to have fun with children.
Cut a foam sheet of your desired shape using a pair of scissors. You can cut into as many pieces as you want to form the pattern. Paste the foam sheet cut-outs together on a sheet of paper using glue forming the pattern. Paint the side on the top with ink or any other paint. Dab on a new sheet of paper using the stamp formed and create interesting artworks.
5.Thread Printmaking:
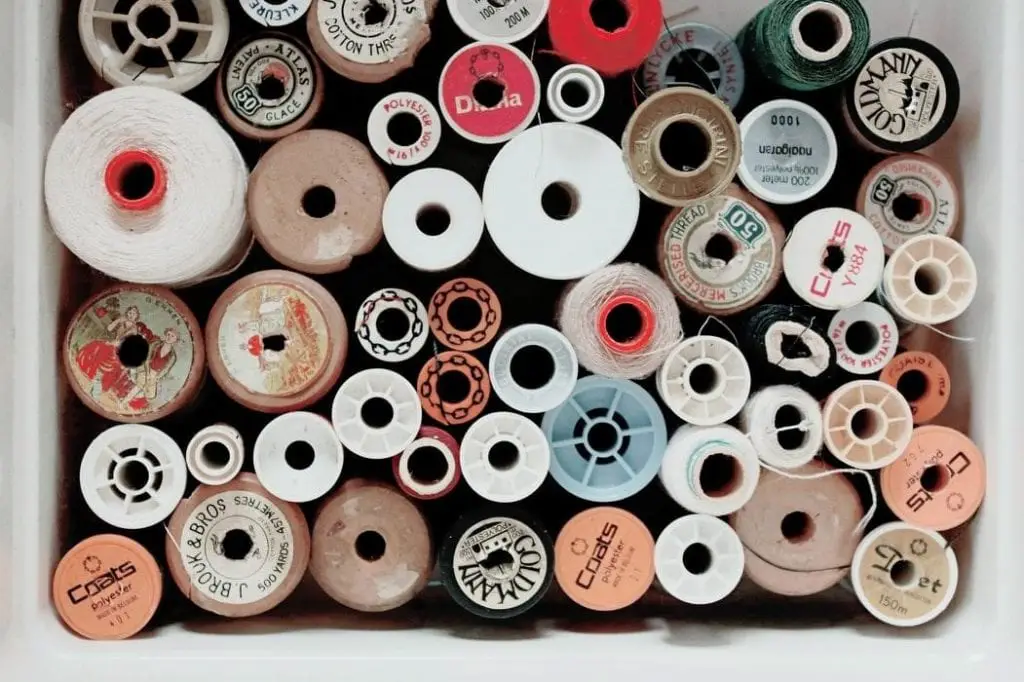
Threads are a great apparatus to use in DIY projects like printmaking. More like printmaking, this stamping method is very simple and fun to try.
You will need a long cotton thread, ink, and a piece of paper to get started with.
Take a long strand of thread and put it in the ink bottle for a few seconds. Make sure not to color one tip of the thread since that would be the handle. Now take a paper and fold it into two halves. Place the thread randomly on one side and your new sheet of paper on the other side. Make sure the handle of the thread is outside the folds. Flap the sheet to close the folding and press the sheet by putting your hand firmly. Remove the thread by pulling down fast and holding the sheet firmly at the same time. Open the folds to see beautiful abstract art on your sheet.
6.Flour dough rolling:
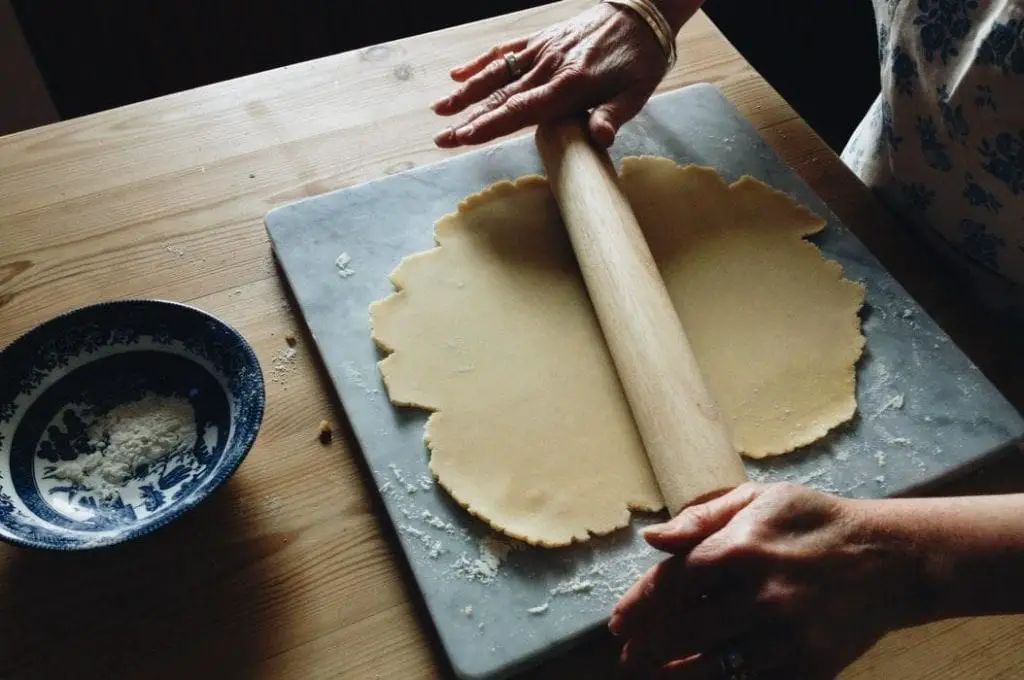
Rolling pins and flour are the essential needs in every kitchen. But, they can be used in making exquisite prints with a little creativity and imagination. You can create pretty stencils using flour or any clay material and print them on paper. What’s more, they are child-safe and environmentally friendly!
Make a flour dough and roll it into a thick sheet (0.5 cm approximately). Cover a rolling pin or any rollers’ surface with the dough sheet. Take a sharp pencil, or a paper-knife and carve designs on the dough area. Apply ink or color on the dough and roll the stencil on a sheet of paper. You can use different colors to make a fun project.
7.Battery Stencil Printmaking:
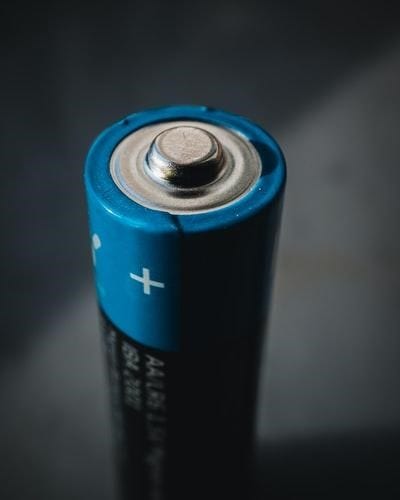
Ever thought that old batteries can be used to make beautiful and mesmerizing designs? You can create flowers, circular patterns, and any intricate artwork with the tips of the batteries. Here is a simple technique on how to make the best use of the concentric circles on the battery tops.
Take an old and used battery and paint the circular side of either side using ink or any acrylic color. Dab the painted side on the paper to get the concentric circle effect. You can use batteries of different sizes for a better design.
8.Cardboard Strip Printmaking:
Many of us find it difficult to make straight lines by hand using a paintbrush. Here is another printmaking idea that uses cardboard for blocking technique to create awesome patterns. Use your imagination and create a kaleidoscope of designs with vibrant colors.
Take a cardboard and cut out a strip of 10 cm X 4 cm approximately. Take ink paint or acrylic paint in a plate and dab the edge of the strip in that paint. On a sheet of paper, print according to the size of your edges and make a geometric effect. You can make crosses, dashed lines, and ladder patterns.
9.Confetti effect Printmaking:

We all love celebration, don’t we? Do you love confetti and wish to create the effect on a paper? Well, you can easily recreate the confetti effect for your greeting cards and other DIY projects. It would be a fun project involving your children to make birthday and greeting cards for them. There are 2 methods to achieve the cool effect as listed below:
Using a toothbrush:
Take a toothbrush and put drops of ink on it. Hold the toothbrush near to the paper and rub gently on the bristles with your thumb. The paint will sprinkle like droplets on the paper and give the confetti effect. You can also sprinkle at different angles and use different colors to make it look awesome.
Using a comb:
Take ink paint on a plate or any flat surface. Dab a comb and let the teeth of the comb soak in the paint for some time. Take the comb out and place it near a sheet of paper. Take a thick strip of paper or cardboard and rub it against the teeth of the comb. The paint will sprinkle and create the desired confetti effect.
10.Dandelions from toilet paper rolls:
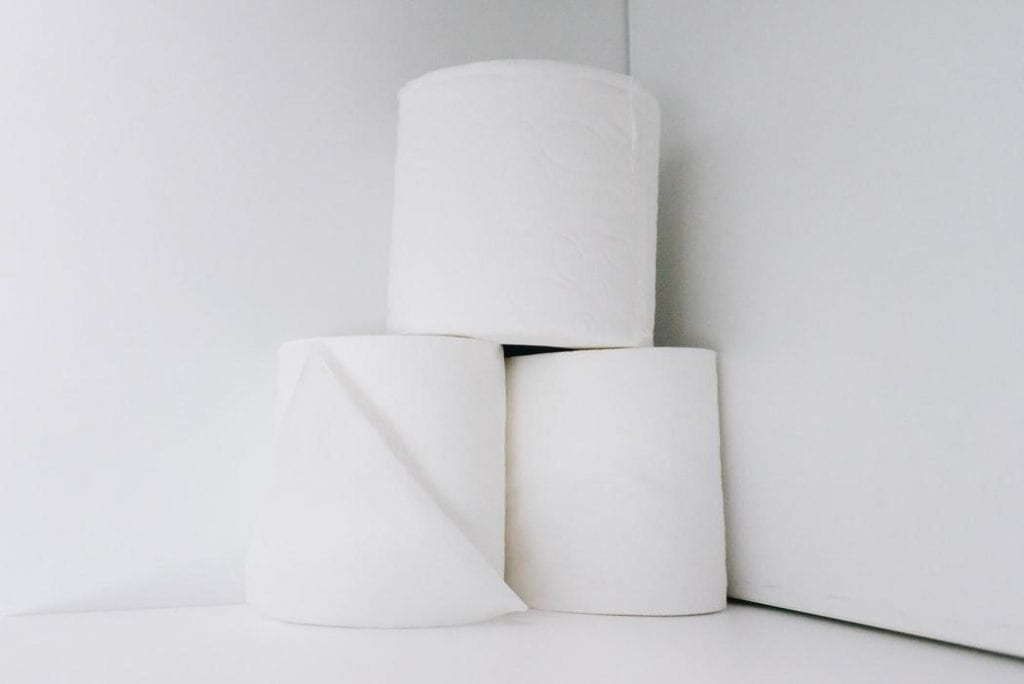
Toilet paper rolls have recently become popular because of COVID-19. While they are trending, the leftover cardboard rolls inside the toilet paper rolls are of no use after you finish using the paper. Do you know the rolls can be used to make beautiful dandelions on paper with a little pinch of imagination and creativity?
Take a toilet roll and mark its middle portion using a pencil. Using a paper cutter, cut the roll vertically into thin strips. Fold the stripes towards the outside and make the edge flat. Add some ink into a flat surface and dab the cut-out strips to color the parts. Hold the uncut part of the roll and dab gently on a sheet of paper. The cut-out strips will form the petal-like effect. Rotate and dab at different angles to bring out the dandelion effect.
These fun and easy printmaking ideas will surely help you design any paper you want to. While many are simple, you can also think of many such ideas to design contemporary printmaking.