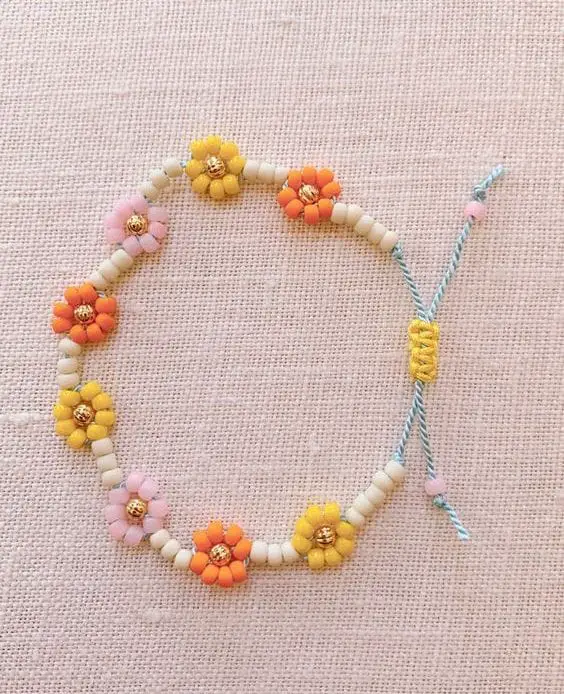
Beading jewelry is like the more enhanced version of yourself when you were just young and who likes to look at beads. Beading is also the version where your early youth’s necklace, bracelet, or any form of jewelry, transforms into a new one. Beading your own jewelry will not only tap the good times it can give, but also it can bring out the inventive side of yours. A chance this is to put your talent, art, and preferences about life.
Step-by-Step Process in Beading Jewelry
Before you start in beading your jewelry, you must make sure first to gather all the essential materials that are needed. Familiarize yourself with the fundamental contexts of the sizes and lengths of the type of jewelry that you want to bead. One example of it is how you are going to pick the color of your beads and also the style that can be based on your Birthstones. The most primary thing you should possess is the passion to do this well as this needs thorough skills despite the simple steps.
1. Gather and Prepare All the Beading Materials

- This is the very first step that you need to do. Thus, you need to gather all the materials needed and then prepare all of it, and place it by systems within your table before you do the beading process. You can roam around the mall or in the tailoring store to find all of the materials.
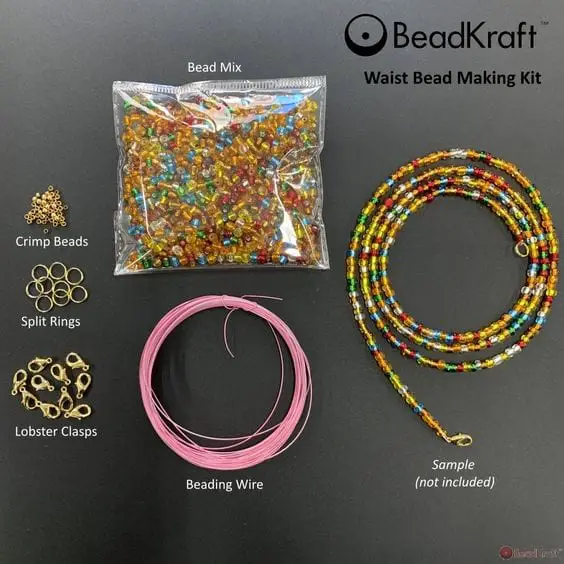
- The materials needed are super glue, beading thread, closures, wire cutter, crimp beads, bead board (optional), and beads.
- The closures are meant to lock the jewelry you are going to bed.
- The beading wire or the beading thread must be flexible, but not necessary. However, I would highly suggest that it should be flexible.
2. Decide on What is the Style You Want the Most
- Thinking about length is one of the things you need to decide first before beading.
- If you are going to bead a necklace, then you can choose whether it would be a choker or collar or just the normal one.
- Always decide what style you want as you may tend to be anxious once you are not sure about what style you want.
3. Finalizing the Length by the Means of Measuring it
- If you have a tape measure, then use this to measure on your neck, hand, anklet, or anywhere of your body which you are going to put to the beaded jewelry. The tape measure will determine what the exact length you need is.
- Or you can refer to the image below for the primary measurements of some jewelry.
4. Put the Beads in Your Chosen Position
- If you are using a desk or a table, you need to make sure that there are no other things on it; except for the beading materials. You need to start choosing what are the types of beads you are going to use.
- Arrange the beads properly to avoid confusion
- You may also ponder to think of various shading and lengths on what to use.
5. Placing Your Beads in the Bead Board
- The bead board is an instrument that significantly encourages the way towards in improving your design abilities.
- You can utilize it to quantify what type of length you wanted the most.
- Individually place in the bead board on what beads you are going to use.
- The number zero in the bead board will be the starting point of your beads.
- Arrange it according to what you want and not just by doing it randomly.
- Doing this will help you in measuring the exact length needed together with the dashes you can found on the side.
- The channels will always be the place to lay out the beads.
- The tray insets in the bead board are intended to hold the beads.
6. Add Some 6 inches to the Length
- After you are now done on knowing the exact measurement of your jewelry, you need to add 6 inches on it as the length or size of the beads may cover up some space.
- I know you are done measuring the exact number, but this is also the part where the locker will be put – the added inches.
- For example, if you want a choker, then you can add 6 inches where the total length would be 21 inches which the initial size of your choker is 15 inches.
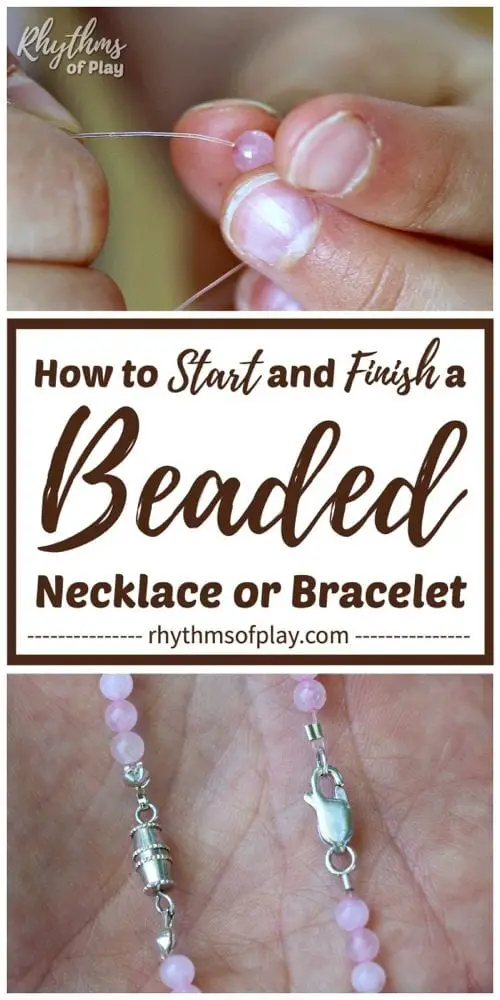
7. Assemble the Clasp and the 2 Crimp Beads

- The crimp beads are the type of soft metal which it must be placed on the string to make sure that your wire will be closed.
- It will also secure the beads together with the clasp for the material that is hard to knot. Thus, this will make your job easy.
- Put your crimping bead first then it must be followed by the clasp the one’s end.
- At this point, you can now make a circle with it.
8. Throughout the Clasp Part, the String Material must be threaded at the End
- At this point, put the bead then crimp then another bead combination, and when you started crimping the beads, you must now use the nose pliers or some crimping tool.
- A hint of the hypo clement, a super glue, can be put when you are utilizing the bead thread. The glue will make sure that the crimp and beads will remain firm in their positions.
- These means will shield your stringing material through scouring the crimp bead’s endpoint.
9. Put your Designs
- At this moment, you are now going you slide all the beads and start making your design.
- Put all the beads from your bead board to the string which you have used.
- After you are done on putting all the beads, you need to leave some 7.5 to 10 centimeters or 3 to 4 inches with no beads.
- Doing this will make your task easy on putting the locks on it.
10. The Jump Ring (Class Section) and Bead-Crimp-Bead Combination
- Pushing the remaining parts of your stringing material within the holes of the bead, which is underneath your crimping bead, is a must thing to do.
- Being mindful must be set when you started pulling the string hard because the string might break despite if it’s a super good stringing material.
- A slack around ¼ inch or 2 to mm must be left on. This room is intended so that the beads can freely move or rotate. Furthermore, this avoids too much friction of the string material. Do not forget to leave this the slack as too much tightness of it may alter the round shape and makes it an angular one.
11. Finishing Touches
- Crimping the last second end must be done first, and after on it, use the slush cutters to cut some parts (not used parts) of your stringing material.
- It isn’t highly suggested that cutting the wire leaves no space within the crimp bead. Henceforth, put an inch or 2.5 centimeters space length on it.
After all, those processes, you are now finished with your beaded jewelry. You can then go outside and wear it with your favorite outfit. Little did you know that once knowing this you can already start your small business? Who would not love a handcrafted or a handmade material in which you pour all the designs you’ve had in your mind. Now I say to you, congratulations on making beautiful beaded jewelry.
